
The block repeat is the first tiling system most surface designers learn, and the one production teams reach for when a print needs to read as ordered, gridded, or graphic. This block repeat tutorial walks through the construction, the seam test, the failure modes, and the cases where straight tiling outperforms every other layout. It assumes you already understand what a tile is and can move between Illustrator, Photoshop, and Procreate without a hand-holding tour of the interface.
If you have read the half-drop tutorial on this blog, treat this as its companion. Block is the baseline. Every other repeat system — half-drop, brick, diamond, ogee — is a deliberate departure from it.
What a Block Repeat Actually Is
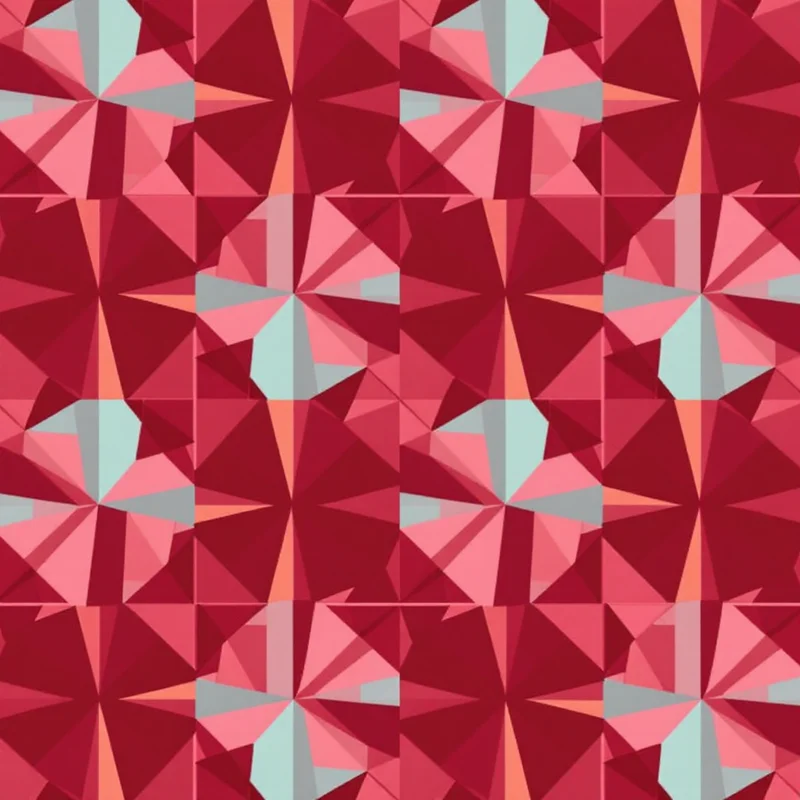
A block repeat tiles a single rectangular unit directly to the right and directly up, with zero horizontal or vertical offset between rows and columns. The top edge of tile A meets the bottom edge of tile B. The right edge of tile A meets the left edge of tile C. No shift. No stagger. No rotation. Just a grid of identical rectangles butted edge to edge.
This is the simplest possible repeat. It is also called a "straight repeat" or "straight across repeat" in the textile industry, and a "full drop" in some wallpaper contexts. The unit is sometimes referred to as the "design repeat" or just the "repeat."
The mechanical definition matters because it determines what the eye does when it scans the finished cloth. Every motif sits on an invisible grid. Every motif has a direct neighbor exactly one tile-width to the right and one tile-height above. That grid is either an asset or a liability depending on the design.
The grid is the feature, not the bug
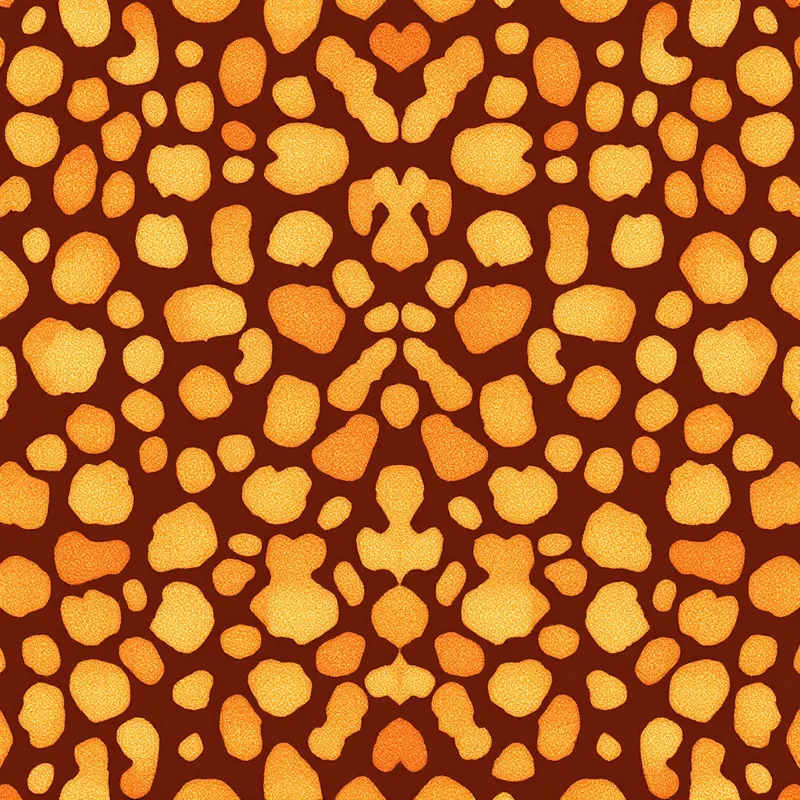
When a designer chooses block over half-drop, they are usually choosing visible order. Checks, ginghams, plaids, tartans, polka dots in formal arrangements, micro-geometrics, large-scale architectural florals printed for curtain panels — all of these depend on the grid being readable. Disguising the grid in a checkerboard would defeat the entire point.
Half-drop exists to hide the tile. Block exists to use it.
When to Use a Block Repeat
The fastest way to decide between block and half-drop is to ask whether the motif wants to live on a grid or wants to float. Five families of pattern want the grid:
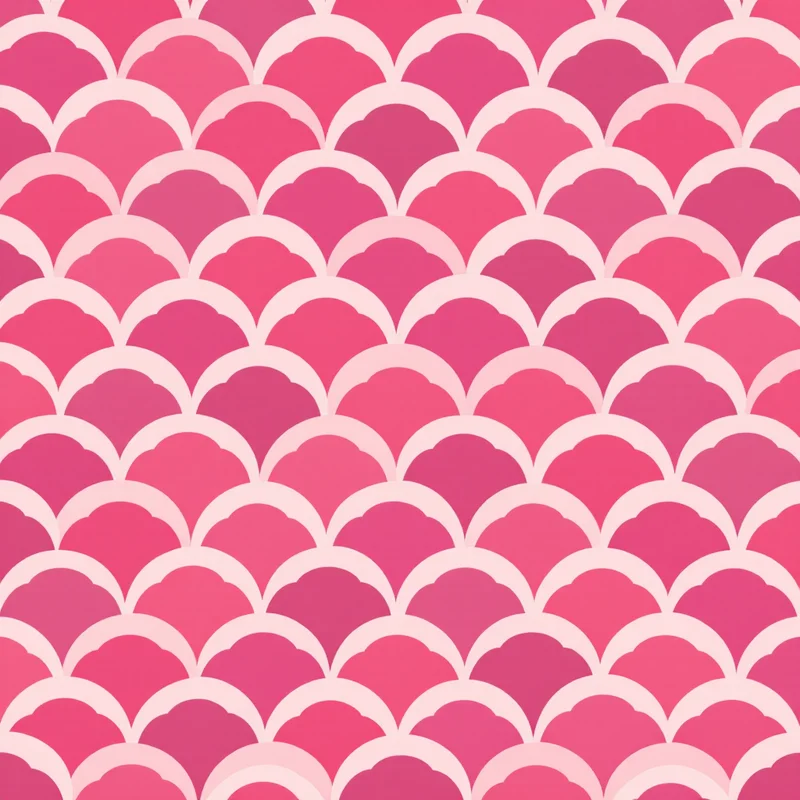
- 1Geometrics with strong horizontal or vertical axes — diamonds aligned to a square, hexagons that need to stack, chevrons that depend on row alignment.
- 2Checks, ginghams, plaids, and tartans — by definition these are perpendicular intersections of stripes. Any offset destroys them.
- 3Stripes — vertical or horizontal stripes are technically a one-dimensional block repeat. Offsetting them creates a brick layout, which changes the design entirely.
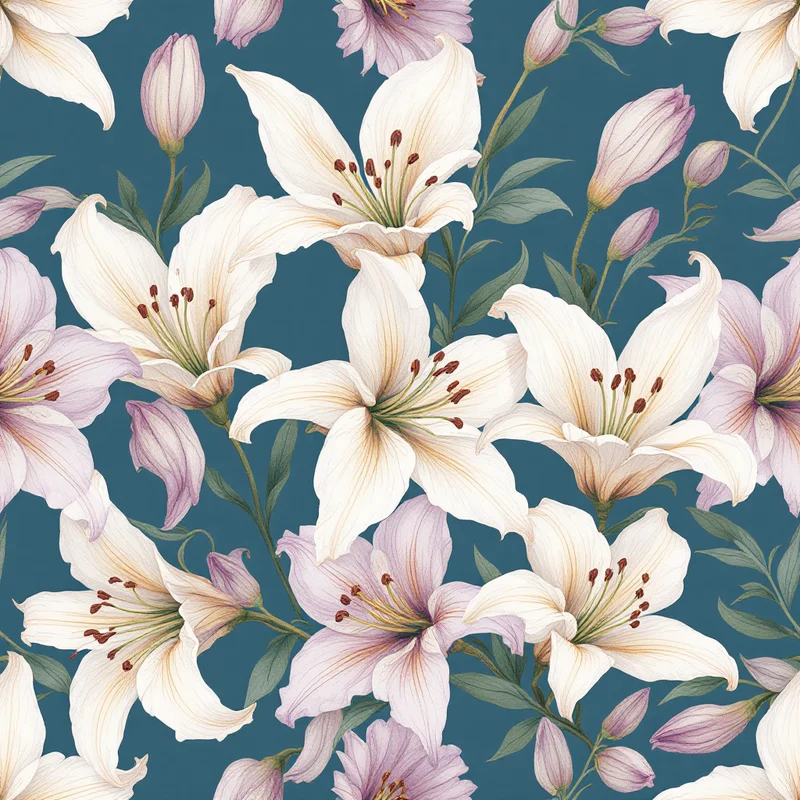
- 4Large-scale statement motifs — when a single hero motif fills most of the tile (a giant peony, a complete still life, a heraldic crest), block lets the motif breathe and read at full scale. Half-drop would split it visually.
- 5Engineered placements and panel prints — anything where the repeat is intended to be obvious, such as scarf squares, panel skirts, or border prints that meet at predictable seams.
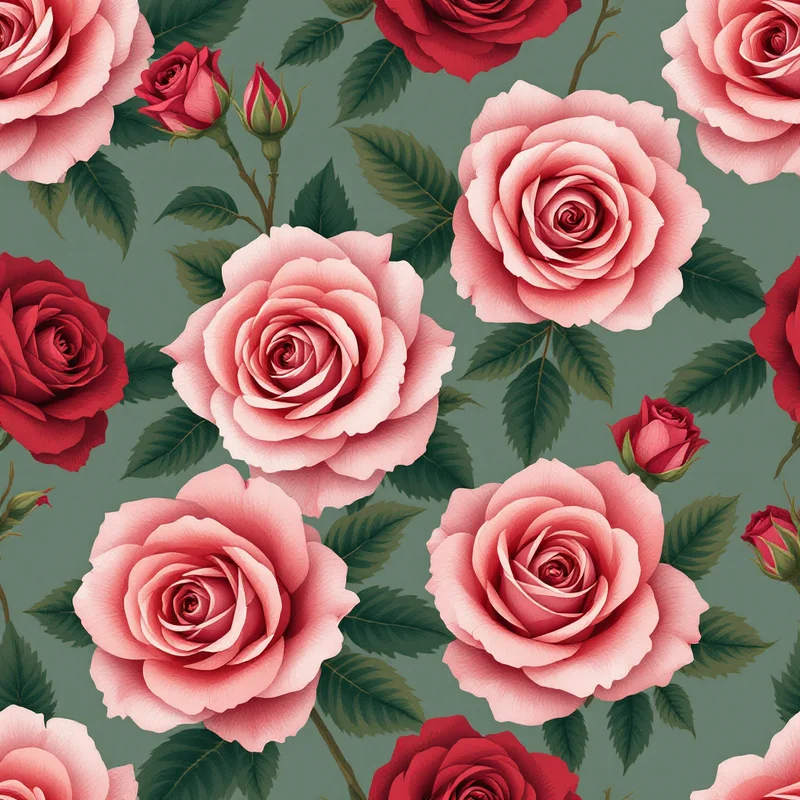
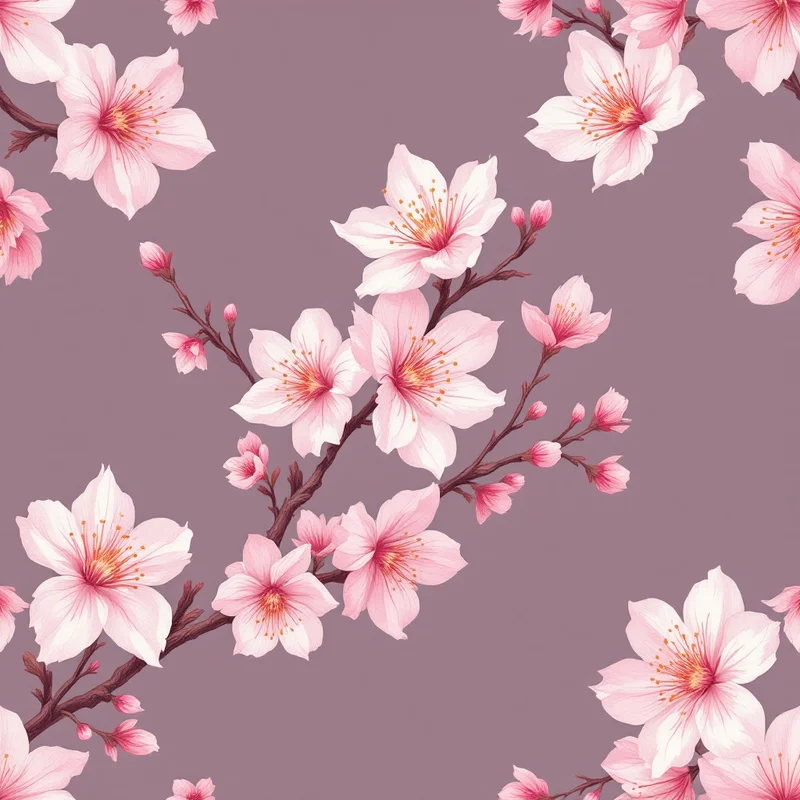
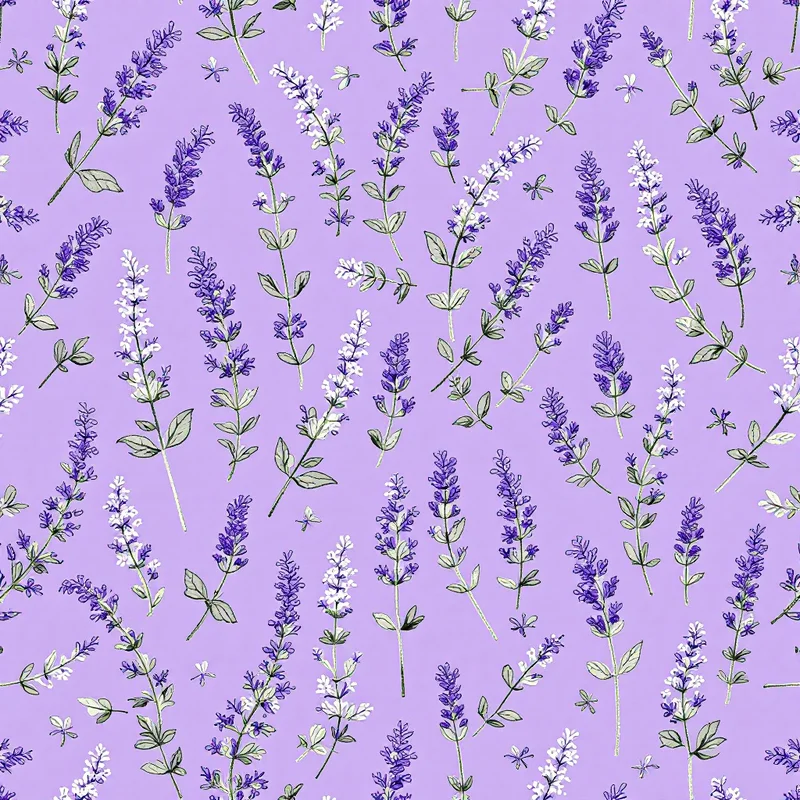
If your motif is sparse, organic, and varied — small florals, leaves scattered across a ground, mixed botanicals — block is almost always the wrong choice. The grid will show.
Strengths of the Block Repeat
Predictable construction. Because the tile butts directly to itself, you only have to balance two edges: top-to-bottom and left-to-right. There is no diagonal seam to chase, no offset row to align. For a designer learning to construct repeats by hand, this is the easiest system to debug.
Faithful motif scale. A motif placed inside a block tile prints at exactly the scale you drew it. No visual compression from the offset. No diagonal stretch. What you see in the tile is what shows up on the fabric.
Cutting and placement efficiency. Pattern cutters love block repeats. Stripes match across seams, plaids line up at the side seam, and engineered placements (a print designed to sit on a specific part of a garment) become straightforward to mark up. Half-drop adds a fitting headache that block avoids entirely.
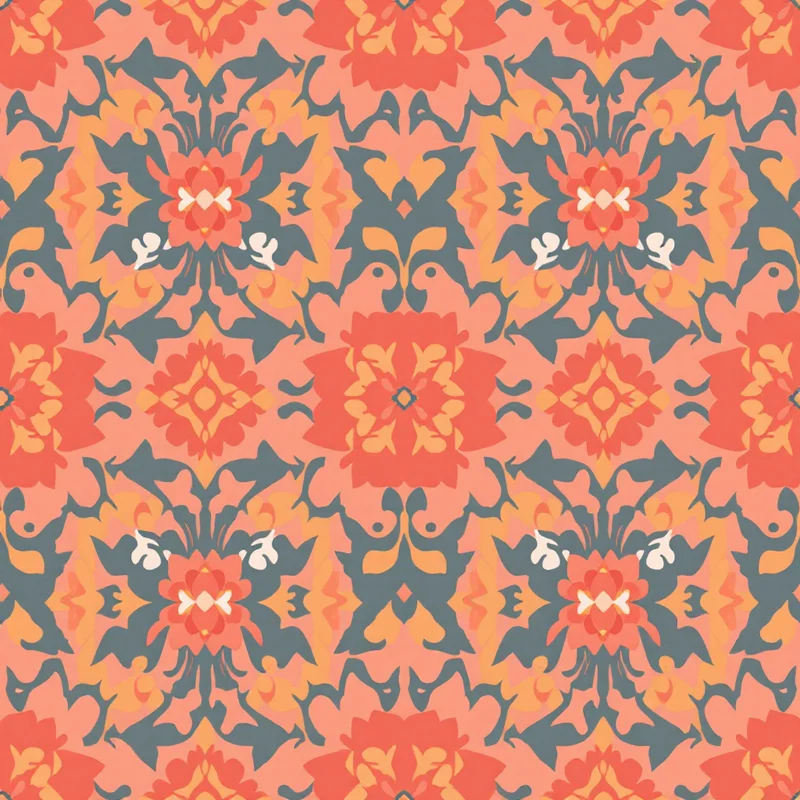
Strong for geometric maths. If your design is built from a unit cell — a tessellation, an Islamic geometric construction, a parquet tile — block is the native layout. You are literally drawing the unit cell and asking it to tile.
Easier digital tiling. When you set a fabric file up for digital print, the printer's RIP software handles a block repeat with one parameter: tile width and tile height. Half-drop requires the RIP to understand the offset, which most modern RIPs do, but it adds a step where things can go wrong.
Weaknesses of the Block Repeat
Visible grid lines. This is the single biggest failure mode. If your motifs are sparse — say, a small flower with empty ground around it — the eye will draw straight lines through the negative space and the design will look like wallpaper from a budget hotel. The cure is either more motifs (denser layout), more motif variation, or a different repeat system.
Boring at large scale. A block repeat printed at a long repeat length (40 cm or more) on a yardage of cloth can read as static if the motif itself does not earn the airtime. Designers compensate with stronger color contrast, layered grounds, or a deliberately busy fill.
Telegraphs the tile size. A buyer who knows what they are looking at can spot the repeat width within seconds. For some buyers this is fine. For others, particularly in heritage prints aimed at luxury markets, the visible repeat reads as cheap.
Punishes asymmetric motifs. If your hero motif has a clear top and bottom and you place it once in the tile, the block repeat will produce vertical columns of identical orientation. This can be intentional (heraldic, formal) or accidental (lazy). Half-drop or brick is usually the fix when the second case applies.
Step-by-Step Construction in Illustrator
Illustrator's Pattern tool was rebuilt for block and brick repeats. The workflow:
- 1Draw your motif or motif group on a blank artboard. Keep all art inside one logical group.
- 2With the group selected, choose Object → Pattern → Make. The Pattern Options panel opens.
- 3Set Tile Type to "Grid." This is Illustrator's name for a block repeat.
- 4Set the Width and Height to your intended tile dimensions in centimeters or inches. For a textile, 20-30 cm is a common starting point.
- 5Drag motifs across the tile edges so they cross the bounding box. Illustrator clones the overhanging parts to the opposite edge. This is how you wrap motifs that hit the seam.
- 6Check the "Tile Edge" preview. Illustrator shows a faint blue border. Anything that extends beyond the border will reappear on the opposite side.
- 7Use the "Copies" dropdown to preview 5x5 or 7x7 tiles. Look for grid lines forming in the negative space.
- 8When the tile is balanced, click Done. The pattern lands in your Swatches panel.
The single most common mistake here is overcrowding the visible tile while leaving the edges empty. The eye does not care about the center. The eye finds the seams. Spend most of your construction time on the edges.
Step-by-Step Construction in Photoshop
Photoshop has no native pattern engine that handles block repeats elegantly, but the manual method is reliable and used by working textile designers every day.
- 1Create a new document at your tile size — for example, 3000 x 3000 pixels at 300 dpi gives you a 10-inch tile.
- 2Drop your motifs in as separate layers. Keep them away from the edges initially.
- 3When you need a motif to cross a seam, use the Offset filter. Filter → Other → Offset. Enter half the canvas width as horizontal and half the canvas height as vertical, with Wrap Around selected.
- 4The motifs that were in the center now sit at the seams, and the seams now sit at the center. This is the trick: any motif you paint while the canvas is offset will tile correctly when the offset is reversed.
- 5Paint or place motifs across the new center (which is the original seam).
- 6Run the Offset filter again with the same numbers to return the canvas to its original orientation.
- 7Save as a flattened TIFF or PNG. To preview the repeat, define the file as a pattern (Edit → Define Pattern), create a larger canvas, and fill with that pattern.
Photoshop's block repeat is mathematically identical to Illustrator's, but the workflow forces you to think about seams continuously. Many designers prefer this because it builds better seam instincts.
Step-by-Step Construction in Procreate
Procreate added pattern preview in late updates but still does not have a true tiling canvas. Designers work around this with two approaches.
The first is the offset method, the same logic as Photoshop. Procreate has a Wrap-Around option inside the Transform tool. Designers also use the free "Repeat Grid" companion app or Pattern Preview brushes that show a live tiled preview while painting on the central tile.
The second is to construct the tile in Procreate and export it to Illustrator or Photoshop for repeat assembly. Procreate is unbeatable for drawing motifs by hand on the iPad. It is not unbeatable for repeat construction. Use it for what it is good at.
A practical block-repeat workflow on iPad:
- Paint motifs on a square canvas at the size you want the final tile.
- Export the file as a layered PSD.
- Open in Photoshop or Affinity Photo.
- Run the offset method described above to wrap edges.
- Finish the seams there.
How to Test for Seams
A repeat is not finished until it survives a seam test. Three methods, in increasing order of trust.
The 3x3 preview. Tile your design at 3x3 inside whatever software you use. Look for two things: grid lines forming through negative space, and any motif that pops out because it sits at the seam awkwardly. Squint at the screen — defocusing your eyes makes grid lines appear that you would otherwise miss.
The grayscale test. Convert the 3x3 preview to grayscale. Color hides imbalance. Without color, you see the actual distribution of light and dark across the surface. If one quadrant of the tile is much darker than the others, your block repeat will produce diagonal stripes of darkness across the finished cloth.
The print test. Order a small swatch. Spoonflower, Contrado, Bags of Love, and several others will print a half-yard for under thirty dollars. You will see things on the swatch that you cannot see on screen, especially with dense or textured motifs. This is non-negotiable for client work.
Block vs Brick vs Half-Drop
These three are the foundational repeat systems. Quick distinctions.
Block (straight): the tile repeats directly across and up. No offset. Strongest for geometrics, checks, plaids, large statements.
Brick: every other row shifts horizontally by half a tile width. The pattern reads like brickwork. Useful for stripes that you want to feel masonry-like, for some geometrics, and for sparse florals where you want to break vertical alignment without going as far as half-drop.
Half-drop: every other column shifts vertically by half a tile height. Reads as flowing, organic, less mechanical. The default for traditional florals, ditsy prints, and any organic motif where you want to hide the grid.
The decision tree is simple. Does the design have a strong rectangular grid the eye should follow? Block. Does it have horizontal bands you want to interrupt? Brick. Does it have organic motifs that should feel scattered? Half-drop.
There is no rule that prevents combining methods on different layers, and experienced designers do this all the time. A ground in block, a scatter of accents in half-drop, then a final motif in brick. The layered approach gets you organic surface texture without losing the order of the base grid.
Modern Uses
The block repeat is having a strong moment in two markets.
Streetwear plaid and check. The 2026 season has pushed oversized buffalo checks, exaggerated tartans, and color-blocked windowpanes hard. All of these depend on block repeats. The trick at large scale is that the tile width might be 60 cm or more, which makes seam testing expensive in cloth but visually trivial — the grid is the design.
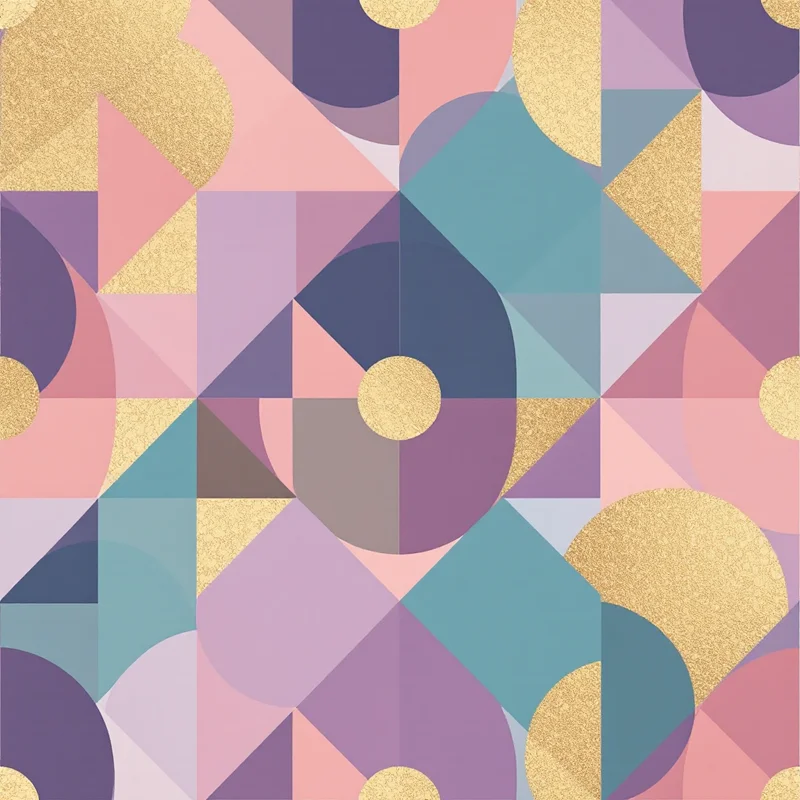
Mid-century geometric revival. The Eames-era surface designs that dominate home goods right now — boomerang motifs, atomic starbursts, parquet inspired prints — are almost all block repeats. They were originally block repeats because mid-century screen printing required it, and the visual language is now inseparable from that gridded order.
Architectural florals on home goods. Curtains, cushions, wallpaper. Large-scale florals printed on home textiles often use block repeat because the consumer expects the grid to be readable for hanging and matching seams. A half-drop floral on curtain panels is a fitter's nightmare.
If you are building these for textile design work or for a clothing design line, the block repeat is the workhorse. If you want to see the difference in practice, browse /create/cultural-patterns/ for examples of how grid-locked motifs read against half-drop florals.
When AI Tools Beat Hand Construction
There is a point in any block repeat where the math gets boring. You have decided the layout, you have placed the hero motifs, and now you need fifty supporting elements distributed without producing visible grid lines. This is the part of the job where a seamless pattern maker or AI pattern generator earns its keep.
Three specific situations where AI tools beat hand construction outright:
- 1Filling the ground. You have a strong hero motif and need a textured ground around it. Hand-painting that ground is hours of work. An AI tool can produce a ground texture in a block tile in minutes and you composite the hero motif on top.
- 1Producing colorways at speed. A buyer asks for the same design in eight colorways for the strike-off review. Hand-recoloring eight files takes an afternoon. A fabric pattern generator re-renders the colorways while you start the next design.
- 1Spec exploration at the brief stage. Before you invest in hand construction, you want to see twenty rough block-repeat layouts in front of the client. AI tools collapse that exploration from days into an afternoon.
The honest limit: AI tools produce tiles that you still have to inspect, often have to fix at the seam, and almost always have to color-balance. They do not replace the seam test. They do not replace the print test. They accelerate the parts of the workflow that are mechanical, and leave the judgment to the designer.
Compare the workflow to surface pattern design at production scale, where teams of designers used to be required to produce the same volume of strike-offs. The discipline of the block repeat is the same. The construction time is what changes.
For more context on where this fits in the broader workflow, the fashion print design guide walks through how repeats integrate into the full design-to-production pipeline, and the how to design clothing patterns post covers the print-to-garment hand-off where block repeats earn their place.
Practical Recap
The block repeat is the tile placed directly to the right and directly above itself with no offset. Use it when the grid is part of the design. Avoid it when motifs are sparse and the grid would distract.
Construct it in Illustrator with the Grid pattern tile type, in Photoshop with the Offset filter, or on iPad in Procreate with a wrap-around brush and a finishing pass in a desktop tool. Test for seams at 3x3, in grayscale, and on a physical swatch. Distinguish it from brick (horizontal half-offset) and half-drop (vertical half-offset) by asking what the eye should do when it scans the cloth.
Modern uses run from oversized streetwear plaid to mid-century revival to architectural home goods. AI tools accelerate the mechanical work — grounds, colorways, exploration — but the judgment about whether block is the right layout, and whether the seams hold, stays with the designer.
That judgment is what makes a working textile designer instead of someone who clicks "tile" in a panel. The block repeat is the simplest system in the kit. Use it where it earns its place, and pick a different repeat when it does not.
Explore related pattern styles
Patterns for