Seamless patterns are one of those things you stop noticing once you understand how they work. The wallpaper in a hotel lobby, the print on a cotton dress, the texture on an app background — all built from a single tile that locks together edge to edge, repeating infinitely with no visible seam. Making that tile is the fundamental skill of surface pattern design, and there are genuinely different ways to get there.
This guide walks through five methods. Each one handles the core challenge — making edges match perfectly — in a fundamentally different way. None of them is objectively "best." The right method depends on what kind of patterns you want to make, what tools you already know, and whether you value speed, control, or a particular aesthetic quality in your work.
The Edge Problem
Before diving into methods, it is worth understanding why seamless patterns are tricky in the first place.
A seamless pattern is a rectangular tile designed so that when copies are placed edge to edge — left to right, top to bottom, and diagonally — the design flows continuously with no visible boundary. Every motif, line, gradient, and texture that exits one side must re-enter the opposite side at exactly the corresponding position. The left edge matches the right. The top matches the bottom.
This is called a "repeat" in the textile industry. The tile is the "repeat unit," and the distance between repetitions is the "repeat length." Common repeat types include straight grid (the simplest), half-drop (each column offset by half), brick (each row offset by half), and hex (hexagonal tessellation).
The difficulty is all in the edges. If a flower stem exits the right side at 40% from the top, a matching stem fragment must appear on the left side at exactly 40% from the top. If your background has a subtle color shift, it must wrap without a step. Even a single pixel of misalignment becomes obvious when the tile is repeated across a large surface — your eye catches the grid immediately.
Every method below is essentially a different solution to this edge-matching problem.
Method 1: Manual Cut-and-Swap Construction
This is where pattern design began, and it remains the most instructive way to understand how repeats work. Before software existed, designers built seamless tiles with paper, paint, and a blade.
How it works
Paint or draw your design on a square sheet of paper, keeping all motifs away from the edges. When the central composition is finished, cut the paper in half vertically and swap the two halves — the left piece goes to the right, the right piece goes to the left — then tape them together. The original left and right edges are now meeting in the center, and you can see exactly how they would join in a repeat. Fill the resulting gap with new artwork, making sure nothing new crosses the outer edges.
Then do the same thing horizontally. Cut the sheet in half top to bottom, swap the halves, tape, and fill the new center gap. When you are done, every edge matches its opposite perfectly. Photocopy the tile a few times and arrange the copies on a table to verify.
Some designers work on translucent paper so they can overlay tiles and check alignment against a lightbox. Others use gridded paper for geometric work. The process is slow and unforgiving — a significant mistake often means starting over — but the results carry an organic warmth that is difficult to achieve any other way.
Why this method matters
Even if you never plan to make a pattern by hand, understanding the cut-and-swap principle makes every other method click. The offset filter in Photoshop is doing the same thing digitally. Illustrator's Pattern tool automates the same edge logic. Knowing what is happening underneath helps you troubleshoot when things go wrong in software.
Beyond education, the handmade quality is genuinely valued in certain markets. Fine art prints, limited-edition textiles, artisanal stationery — there are buyers who specifically want work that looks and feels like it was made by human hands, with all the small imperfections that implies.
Practical advice
Start with simple motifs — scattered dots, small leaf shapes, basic geometric marks. The same logic explains why so many designers learn on polka dot patterns before moving to complex botanical or paisley repeats. Do not attempt a complex botanical on your first try. Use a ruler and light pencil grid to keep your proportions consistent. And accept that your first few attempts will have visible seams. The skill is in your hands and eyes, and it develops with practice.
Strengths: No software needed. Deepens your understanding of repeat construction. Produces genuinely handmade textures. Happy accidents and organic marks are part of the process.
Limitations: Very slow. Mistakes are hard to fix. Output must be scanned and cleaned for commercial use. Not practical for production volume.
Best for: Learning fundamentals. Fine art and limited-edition work. Designers who value process as much as product.
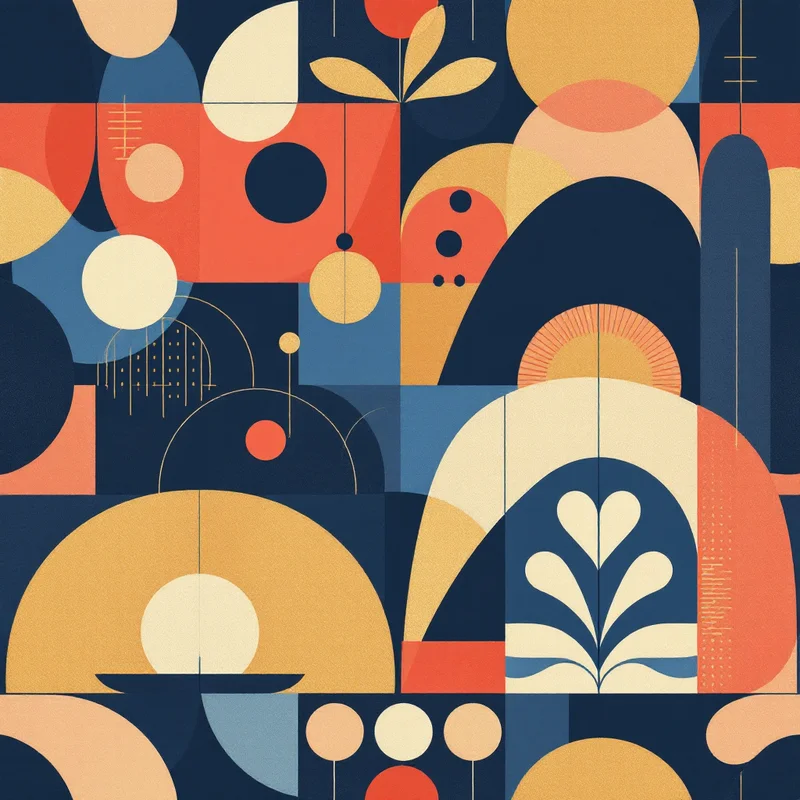
Method 2: Adobe Illustrator
Illustrator is the industry standard for vector pattern design, and it has earned that position through two decades of refinement. Its Pattern Make tool provides a dedicated workspace for creating seamless repeats from vector artwork, with real-time tiling preview and multiple repeat types.
How it works
Draw your motifs as vector objects — shapes, paths, imported SVGs, typographic elements. Open Pattern Make (Object > Pattern > Make), and Illustrator places your artwork inside a tile boundary with a live preview showing how the tile repeats in all directions. Drag motifs around, resize them, change the tile dimensions, switch between grid, brick, and hex layouts — the preview updates instantly. When you are satisfied, save the pattern as a swatch.
For more control, experienced designers often skip Pattern Make entirely and build repeats manually. This means defining a precise bounding rectangle, duplicating elements to opposite edges using exact offset transforms (the vector equivalent of the cut-and-swap), and filling the interior so the composition feels balanced. It takes longer but gives you absolute authority over every element's position.
Practical advice
When using Pattern Make, work at a reasonable zoom level — the live preview slows down significantly with complex artwork. Build your motifs separately before entering Pattern Make mode, rather than drawing inside it. For half-drop repeats, pay attention to the vertical rhythm; it is easy to create patterns that look right in a straight grid but have awkward gaps in a half-drop layout.
If you are building repeats manually, set up a template file with your bounding rectangle, edge guides, and a set of pre-configured offset transforms. This turns a 20-minute setup process into a 30-second one.
Strengths: Complete creative control over every element. Vector output scales to any size with zero quality loss. Industry-standard formats (AI, SVG, PDF) accepted everywhere. Pattern Make's live preview makes edge-matching intuitive. Enormous ecosystem of tutorials and resources.
Limitations: Steep learning curve — the software is deep, and pattern-specific techniques take time to learn. Monthly subscription cost. Organic, painterly, or photographic textures are hard to achieve in a vector workflow. Complex patterns can take hours of careful work.
Best for: Professional surface designers who sell to manufacturers. Anyone who needs vector deliverables. Geometric, clean-line, and precisely constructed patterns. Work destined for screen printing or large-format production.
Method 3: Procreate
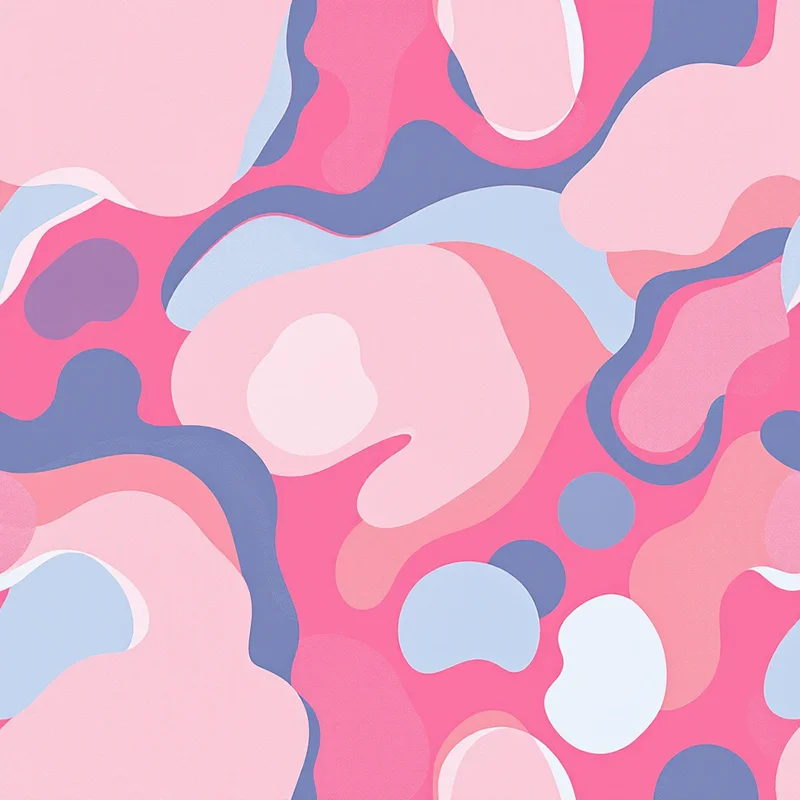
Procreate has become the tool of choice for hand-drawn pattern designers, and the appeal is immediate once you pick up the Apple Pencil. The brush engine produces marks that feel like real media — pencil grain, watercolor spread, ink pooling — with a naturalness that vector tools and AI generators have not matched.
How it works
Set up a square canvas at your target resolution (2048x2048 or 4096x4096 are common). Draw your motifs in the center, keeping everything away from the edges. When the central composition is ready, use the Offset tool to shift the canvas so the original edges meet in the center — this is the digital version of the cut-and-swap. Fill the resulting gaps, being careful not to let any new marks cross the outer canvas boundary. Export and tile manually or use a companion app to check the repeat.
Some designers use Procreate's Wrap Around mode or community-made pattern templates to streamline the offset step. There are also dedicated brushes that help with repeat construction.
Practical advice
Build the habit of working in layers: one layer for your background color, one for each motif type, and a top layer for finishing details. This makes the offset step much easier because you can offset and adjust individual element groups. Keep a separate "test" canvas where you paste your tile four times in a grid to check for seams — this quick feedback loop saves a lot of time.
For watercolor or ink-wash styles, paint your motifs on a separate canvas first, then copy them into your pattern canvas. This lets you work freely without worrying about edge placement until you are ready to compose the repeat.
Strengths: Produces genuinely hand-drawn patterns with natural brush textures that stand out in any market. One-time purchase price. Intuitive for anyone who likes to draw. Enormous community of pattern designers sharing techniques and resources.
Limitations: No live tile preview — you must export and check manually. The offset workflow takes practice to master. iPad-only. Raster output, so resolution is fixed at creation time. Not well suited to precise geometric work.
Best for: Illustrators and artists who want patterns that look hand-painted, sketched, or drawn. Children's print design. Watercolor florals, ink botanicals, pencil textures. Anyone whose competitive advantage is the quality of their hand work.
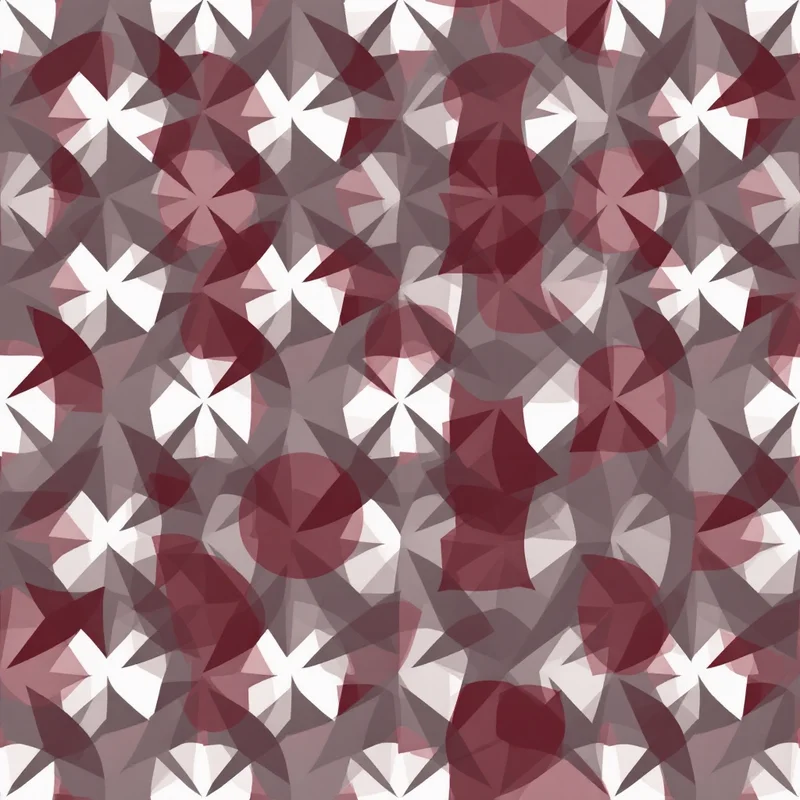
Method 4: Adobe Photoshop
Photoshop's role in pattern design is often overlooked, but its Offset filter method has been creating seamless tiles since the 1990s. It handles something the other tools struggle with: photographic textures, scanned artwork, and mixed-media compositions.
How it works
Start with your artwork, texture, or photograph on a canvas. Go to Filter > Other > Offset. Set the horizontal and vertical offset to exactly half the canvas dimensions and select "Wrap Around." The image shifts so the original edges are now in the center of the canvas, making the seams visible. Use the Clone Stamp, Healing Brush, Content-Aware Fill, or manual painting to blend those seams until they disappear. Run the Offset filter again to check — if the center looks clean, your tile is seamless.
For patterns with distinct motifs (rather than continuous textures), the approach is similar to Procreate: place motifs in the center, offset to reveal the edges, fill the gaps, offset again to verify.
Recent versions of Photoshop include a Pattern Preview mode (Edit > Pattern Preview) that provides a live tiling view, similar to Illustrator's Pattern Make. It can be slow with large canvases but is useful for checking your work as you go.
Practical advice
Content-Aware Fill is surprisingly good at fixing simple texture seams — select the seam area and let it fill. For more complex seams, the Clone Stamp with a soft-edged brush gives you the most control. Work in small passes rather than trying to fix a seam in one stroke.
If you are working with scanned artwork or photographs, start by correcting any uneven lighting or color across the source image. Vignetting (darkening at the corners) and uneven exposure create seams that are very difficult to fix after the fact. Level the tones first, then offset.
Strengths: Handles any type of imagery — photographs, scans, digital paintings, mixed media. The Offset filter is simple and reliable. Content-Aware Fill automates simple seam repair. Full CMYK color management. Pattern Preview mode adds a live tiling view.
Limitations: Raster output with fixed resolution. The Offset method is manual and iterative — complex seams require multiple rounds of cloning and checking. Monthly subscription. No automatic edge-matching. Precise geometric repeats are clunky compared to Illustrator.
Best for: Photographic textures (marble, wood, stone, fabric), scanned artwork and paintings, mixed-media patterns, and any workflow where blending and pixel-level texture control matter most.
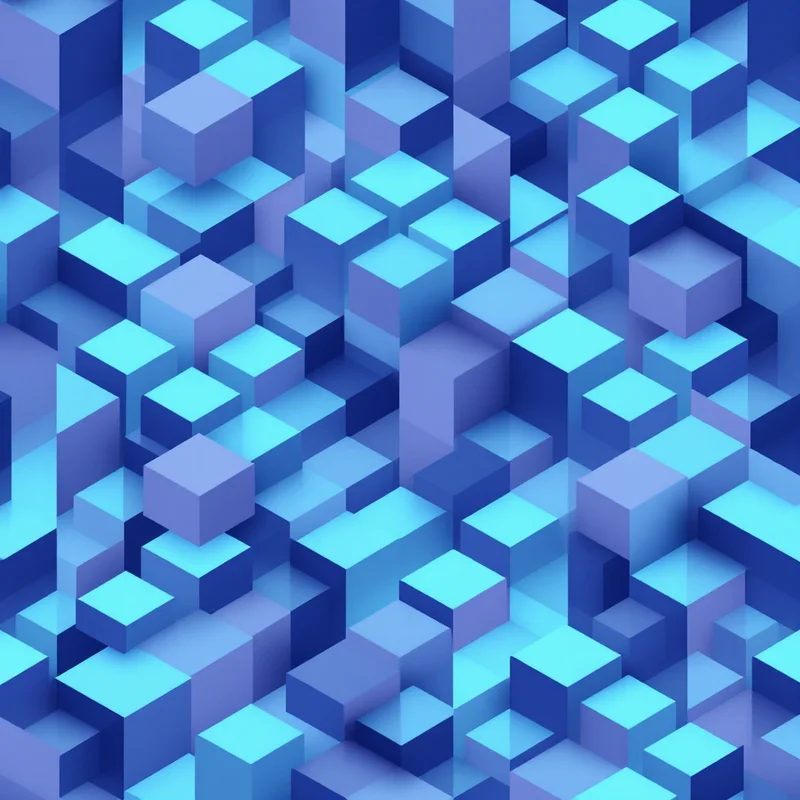
Method 5: AI Pattern Generators
AI generation is the newest approach and the one changing fastest. Diffusion models trained on large image datasets produce seamless tiles from descriptions or parameter selections in seconds rather than hours.
How it works
With a dedicated pattern generator, you choose a style category, substyle, colors, density, and scale, and the tool translates those choices into an optimized generation request — no prompt-writing required. The structured approach ensures consistent, production-ready results with seamless tiling built in from the start.
The core idea is the same across all of them: instead of constructing the tile yourself, you describe what you want and iterate on the results. When something works, you export it. When it does not, you adjust your inputs and regenerate. The cycle from idea to finished tile can be under a minute.
What AI does well
Speed is the obvious advantage. Generating twenty variations on a concept takes minutes instead of days. For exploring directions — "what does this palette look like with a botanical versus a geometric motif?" — AI is unmatched. It also eliminates the edge-matching problem entirely; tools with built-in tiling produce seamless output automatically.
For designers who are not illustrators — print-on-demand sellers, marketing teams, product developers — AI lowers the barrier to creating custom patterns without outsourcing or learning complex software.
What AI does not do well
You give up fine control. You cannot say "move that third leaf two millimeters to the left" or "make the curve of that stem follow this exact path." If a pattern is 90% right but one element is wrong, your only option is to regenerate and hope, or take the file into a manual editor.
Output is raster, not vector. Most AI tools cannot export SVG or editable paths, which limits use in workflows that require scalable artwork. Results depend on the underlying model — some styles and motifs are handled beautifully, while others come out awkward or generic. And AI patterns, while often impressive, can develop a sameness over time. A skilled illustrator working in Illustrator or Procreate creates things with a specificity and intentionality that AI has not matched.
Practical advice
Treat AI generation as a starting point, not a finished product. Generate broadly, select carefully, and refine in other software when needed. If you are using a prompt-based tool, learn what the model responds to — specific material and style references ("screen-printed linen texture," "1960s Scandinavian") tend to produce better results than abstract descriptions ("beautiful elegant pattern").
If you use AI-generated patterns commercially, understand the licensing terms of whatever tool you use. This varies significantly between platforms.
Strengths: Dramatically faster than manual methods. No drawing skill required. Handles edge-matching automatically (in pattern-specific tools). Wide range of styles. Low per-pattern cost.
Limitations: Limited control over individual elements. Raster output only. Results vary by model quality. Requires internet connection. Some designs that a skilled artist could execute are beyond what AI produces well. Can develop a recognizable "AI look."
Best for: Rapid exploration and prototyping. Print-on-demand sellers who need volume. Generating starting points for manual refinement. Anyone who needs seamless tiles quickly without specialized design training.
Side-by-Side Comparison
| Method | Skill Level | Time per Pattern | Cost | Output Type | Edge Matching |
|---|---|---|---|---|---|
| Manual Construction | Beginner to Advanced | 2-8 hours | Paper and paint | Physical (requires scanning) | Manual cut-and-swap |
| Adobe Illustrator | Intermediate to Advanced | 1-4 hours | $23/mo (subscription) | Vector (scalable) | Manual + Pattern tool |
| Procreate | Beginner to Intermediate | 1-3 hours | $13 (one-time) | Raster (fixed resolution) | Manual offset method |
| Adobe Photoshop | Intermediate | 1-4 hours | $23/mo (subscription) | Raster (fixed resolution) | Manual offset + Content-Aware |
| AI Generators | Beginner | Under 5 minutes | Free tiers or $9-20/mo | Raster (up to 4K+) | Automatic |
Skill levels reflect what is needed for production-quality results. Any method can be picked up by a beginner for experimentation, but commercially viable patterns in Illustrator or Photoshop require genuine proficiency.
Time estimates assume a moderately complex pattern — a botanical with three to five motif types and a four-color palette. Simple geometrics will be faster across all methods; highly detailed illustrations will be slower.
Starting Out
If you are new to pattern design, I would encourage you to try more than one method rather than committing immediately.
Start with the manual cut-and-swap using paper and pencil — even just once. It takes an hour, and it will give you an intuitive sense of how repeats work that no software tutorial can replicate. You do not need to make it beautiful. You need to feel the edges match.
Then try the method that matches how you already like to work. If you draw, try Procreate. If you are a graphic designer, try Illustrator. If you want to explore fast, try an AI tool's free tier. If you love photography and texture, try the Photoshop offset method with a photo you took.
There is no single correct entry point. The designer who starts in Procreate and the designer who starts with AI generation both end up learning the same principles — composition, density, color balance, motif scale, edge discipline. The tool is just the path you take to get there.
Combining Methods
Most working pattern designers use more than one approach, and the combinations are where things get interesting.
A common workflow: sketch motifs by hand or in Procreate, scan or export them, and assemble the repeat in Illustrator for vector output. Another: generate concepts quickly with an AI tool, identify the strongest directions, then recreate the best ideas from scratch in Illustrator with full control over every element. Or: build a seamless texture in Photoshop, then use it as a background layer in Illustrator with vector motifs on top.
The methods are not competing with each other. They are complementary, each contributing something the others cannot. Manual work gives you understanding. Illustrator gives you precision. Procreate gives you warmth. Photoshop gives you texture. AI gives you speed.
The Fundamentals Do Not Change
Whatever method you choose, the principles that separate a good pattern from a mediocre one are the same: balanced composition where the eye travels smoothly across the repeat without getting stuck; intentional color choices that create the right mood and contrast; appropriate density for the intended use; scale that works at the final print size; and invisible edges that let the viewer see the design rather than the grid.
Master those, and the tool is just the means of getting them onto the tile.
Explore related pattern styles
Patterns for