Most explanations of the textile design process either flatten it into a four-step diagram for design students or stretch it into a 40-page studio manual aimed at production managers. Neither matches what actually happens at a desk on a Tuesday afternoon when a designer is trying to ship a six-piece collection for a market deadline and update a working textile design portfolio.
This is the working version. Eight steps, in the order they actually occur, with realistic time estimates for both a traditional Photoshop-and-Illustrator textile design software workflow and an AI-augmented one. It covers what the designer does, the common mistakes that cost the most rework, and the specific places where tools like a seamless pattern maker have genuinely changed the job versus the places where they haven't.
If you are a student, a career-changer, or a brand owner trying to understand what your freelance designer is doing for three weeks before showing you anything, this is the map.
What the textile design process actually is
Textile design is the discipline of creating two-dimensional artwork that will be printed, woven, knitted, or embroidered onto fabric. Unlike graphic design, the output has to repeat seamlessly across an arbitrary length of cloth, survive being scaled to a bolt width, render correctly on a substrate with its own color behavior, and read well from both two feet and twenty feet away.
The work splits into two phases. The creative phase (steps 1-4) is where the pattern is invented. The technical phase (steps 5-8) is where it is made manufacturable. Different studios weight these differently — a couture print house spends 70% of its time in creative, a mass-market apparel converter spends 70% in technical — but every textile designing project moves through both.
Step 1: Research and mood-boarding
Traditional time: 8-20 hours per collection. AI-augmented time: 8-20 hours per collection.
The first step has not changed and probably never will. Before any pixel is placed, the designer assembles visual reference. Sources vary by studio:
- Pinterest boards, separated by mood, color, and motif type
- Archive trips — V&A in London, MET in New York, Musée des Tissus in Lyon, Cooper Hewitt
- Trend forecasting subscriptions — WGSN, Pantone View, Première Vision, Fashion Snoops
- Vintage textile dealers and Etsy for physical swatches
- Direct nature and street photography
- Auction catalogs, especially for cultural and historic motifs
The output is usually a digital mood board plus a folder of high-resolution reference images. A good mood board has 40-80 images and a clear visual thesis — you should be able to look at it and immediately know what the collection is not as well as what it is. A quick scan of the render style index — watercolor, vector, ink, and adjacent finishes — is useful at this stage to lock the rendering decision before motif work starts.
The mistake almost every beginner makes is starting to design before this is done. The mood board is not a deliverable for the client, it is a constraint document for the designer. Skip it and you will spend step 3 thrashing.
AI tools do not meaningfully change this step. Pattern Weaver is downstream of research — you still need a point of view before you start prompting.
Step 2: Concept and direction
Traditional time: 2-6 hours. AI-augmented time: 2-6 hours.
The second step is writing the brief. Even if you are the client, you write it. Even if it is a Post-it note, you write it.
A textile design brief that actually controls the work has six parts:
- 1Collection thesis — one sentence describing the emotional and commercial logic of the group
- 2End-use — apparel, upholstery, bedding, gift wrap, wallpaper, swimwear
- 3Substrate — woven cotton, jersey, linen, silk twill, canvas, paper
- 4Scale range — repeat sizes in centimeters or inches
- 5Color count — how many spot colors per pattern, or CMYK full-process
- 6Hero / anchor pattern — the one piece the rest of the collection orbits
Without item six, collections feel like grab bags. The anchor is the most assertive print; everything else is engineered to coordinate with it.
This step has not been changed by AI either, and that is worth saying clearly. The tools that will appear in step 5 do not write briefs. They execute briefs. A vague brief produces vague output regardless of whether the executor is human or model.
Step 3: Sketch and motif development
Traditional time: 15-40 hours per pattern. AI-augmented time: 1-3 hours per pattern.
Here the process forks for the first time.
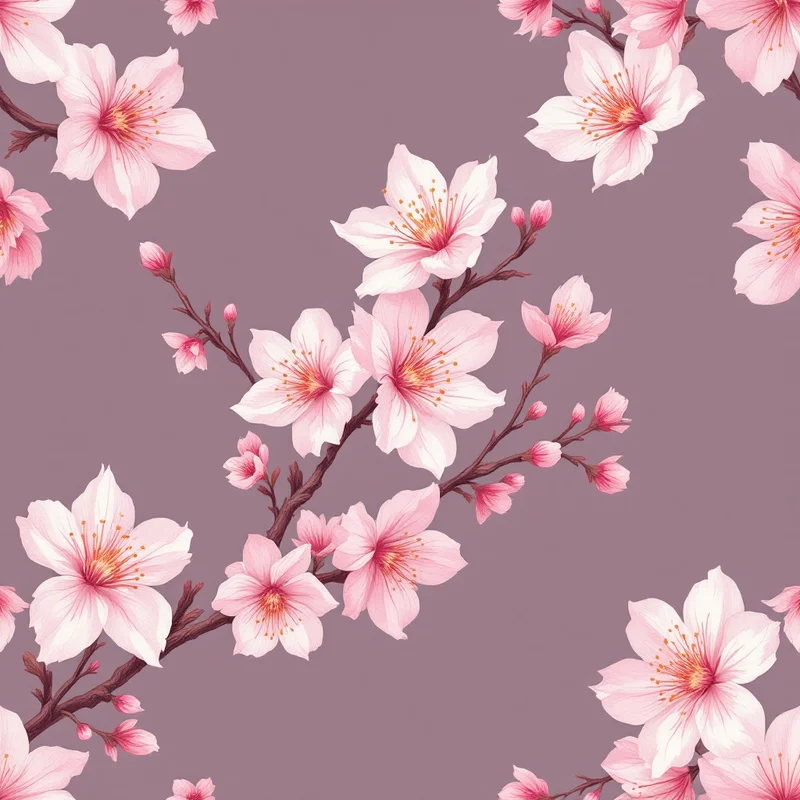
The traditional path: rough sketches in pencil or iPad, refinement in Procreate or directly in Illustrator, then individual motif files — one peony, one rosebud, one leaf, one bud, each as its own clean vector or hand-painted unit. A floral collection might need 15-30 individual motif files before construction begins.
The AI-augmented path: a textile designer tools stack like Pattern Weaver collapses motif development into prompt iteration. You describe the motif character (peony, half-open, watercolor edge, three colorways available), generate variants, refine the prompt, and arrive at a usable motif inventory in an afternoon rather than a fortnight.
Two cautions on the AI path, both honest. First, the motifs you generate are not editable in the same way hand-drawn vectors are — if the client wants a fifth petal added on the third peony, you cannot just grab the anchor point. Second, AI motif development pushes the designer's skill from drawing toward art direction. If you cannot articulate exactly what is wrong with an output, you cannot fix it.
Whichever path you take, the deliverable of step 3 is the same: a clean motif inventory, sized roughly to scale, ready to be arranged.
Step 4: Color palette development
Traditional time: 4-12 hours. AI-augmented time: 2-6 hours.
Color is where the most expensive mistakes happen in textile design, because color decisions cascade. If you build a 12-color palette and then learn at production that the converter only does six-color rotary screen, half your work is invalid.
Decide three things before you pick a single swatch:
- 1Color space. CMYK if you are going to digital pigment or sublimation print. Pantone TCX or TPG if you are going to spot-color screen print. RGB only if the output is literally a screen.
- 2Color count per pattern. Six is a comfortable upper bound for screen print. Twelve is generous for digital. More than that and your registration costs spike.
- 3Crossover discipline. Across a collection, the same hex value should appear in multiple patterns. If pattern A's leaf green is `#3F6B43` and pattern B's leaf green is `#406C44`, the collection will read as muddled at retail even though the difference is invisible side by side on screen.
CMYK-aware decisions matter from the start. A neon coral that looks fantastic in RGB will desaturate by 30% in CMYK and look chalky on cotton. Build the palette in the color space you will print in.
This is where a designer working in surface pattern design earns their fee — the palette is the connective tissue of the collection, and it has to be locked before construction starts.
Step 5: Repeat construction
Traditional time: 6-15 hours per pattern. AI-augmented time: 10-30 minutes per pattern.
This is the step where AI tools have collapsed the workflow the most dramatically, and it is worth understanding why.
A repeat is a tile that, when placed edge-to-edge with copies of itself, produces an unbroken pattern across infinite cloth. Constructing one by hand means arranging your motif inventory inside a defined rectangle, then duplicating that rectangle on all four sides, then resolving the seams so no motif is sliced and no obvious grid emerges.
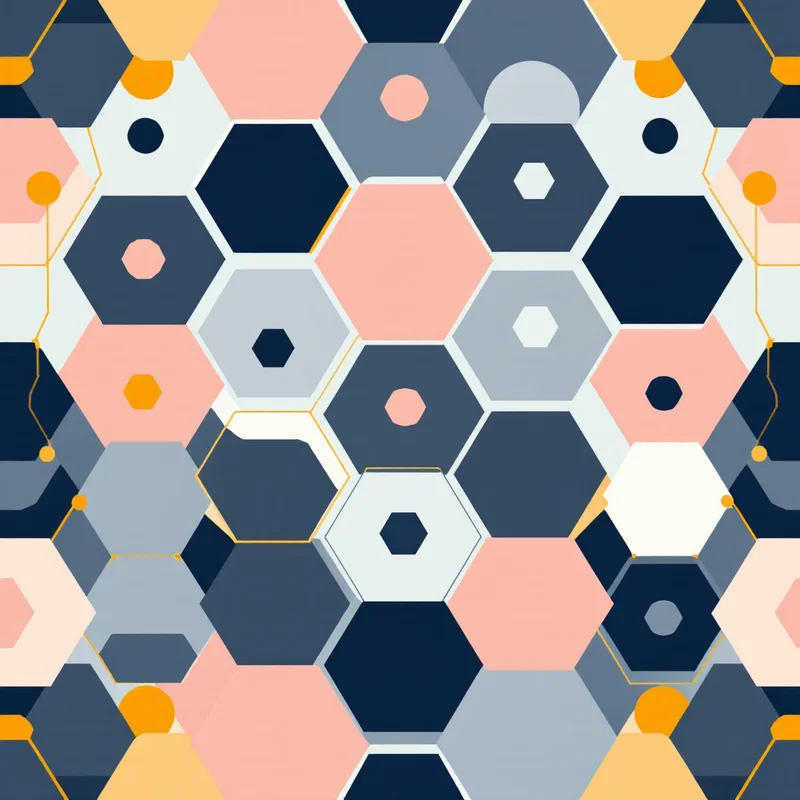
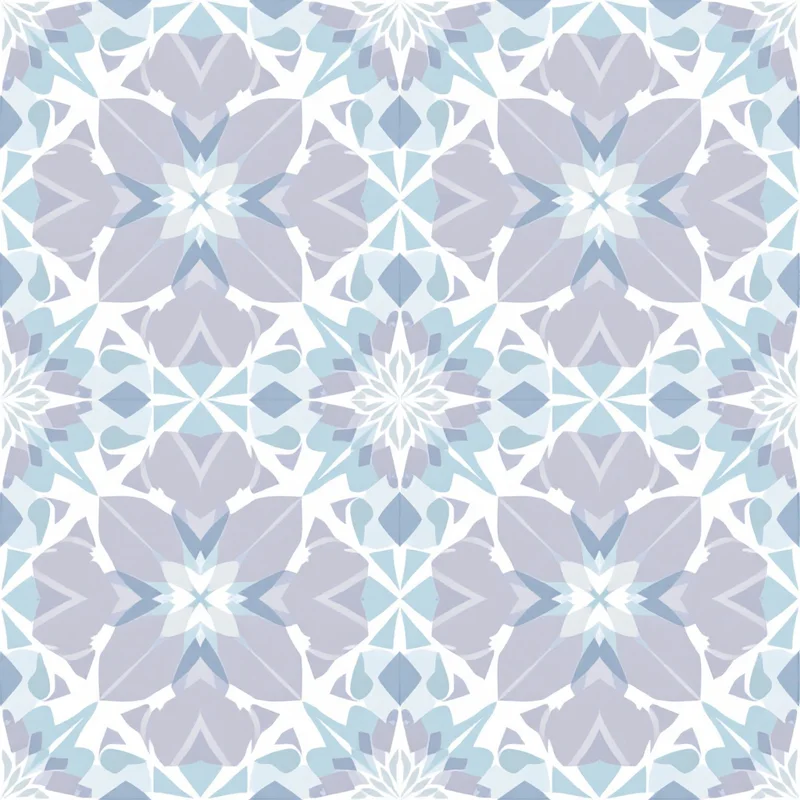
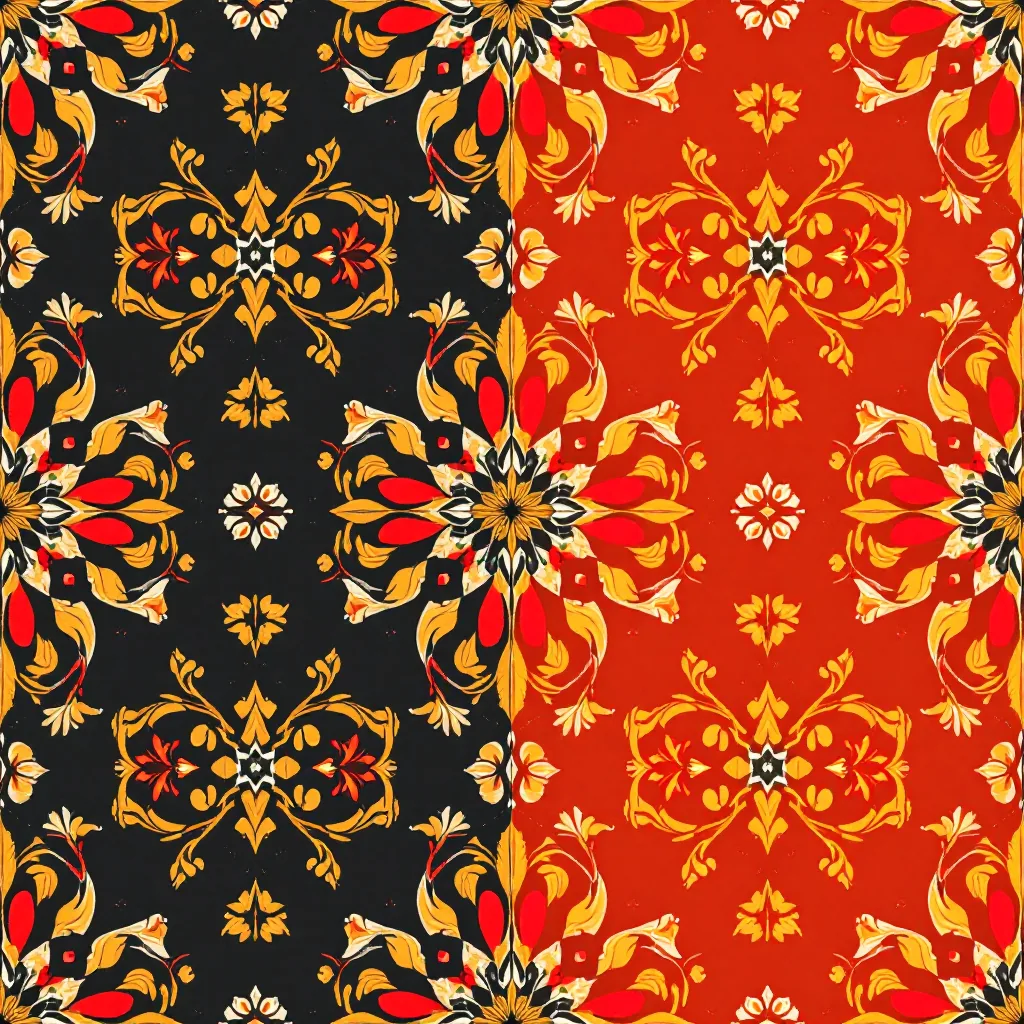
The five classical repeat structures every textile designer should know:
- Block (square) repeat — the tile repeats straight horizontally and vertically. Easiest to build, most prone to visible gridding. Best for geometrics and tightly packed florals where the eye cannot find the seam.
- Half-drop repeat — every other column is offset vertically by half the tile height. The most flattering repeat for medium-density florals and paisleys because it disguises the grid.
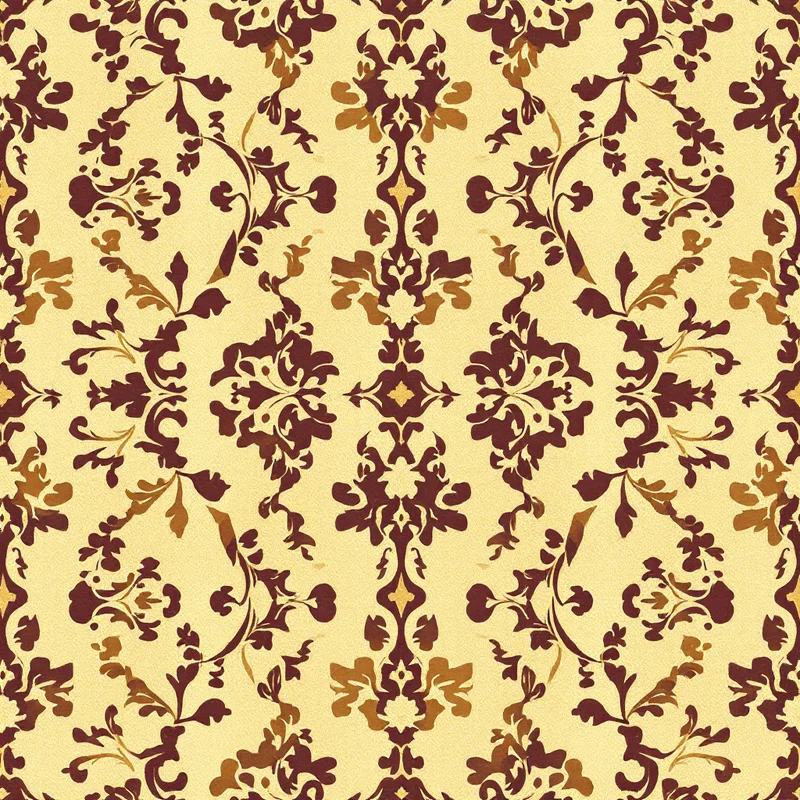
- Half-brick repeat — every other row is offset horizontally by half the tile width. Common in damasks and tile-inspired motifs.
- Mirror repeat — the tile is flipped along one or both axes. Produces strong symmetry, used in damasks, kaleidoscopic florals, and many paisley patterns.
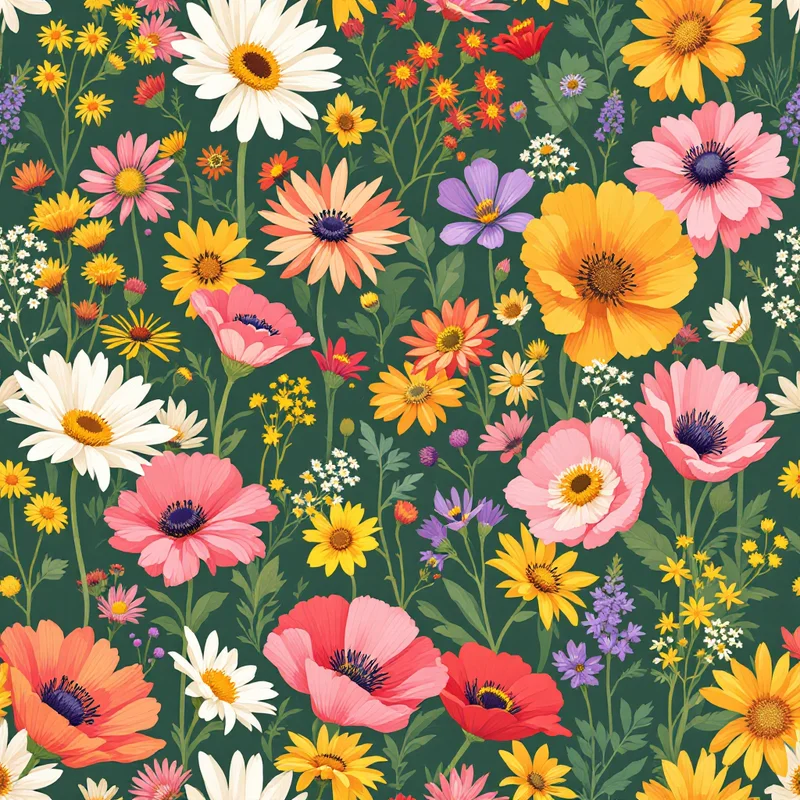
- Scattered / tossed repeat — motifs are placed in a tile so that, when tiled, they read as random rather than gridded. The hardest to do well by hand and the most commonly attempted.
The traditional method involves duplicating motifs across tile edges, hiding seams behind larger forms, and visually testing the repeat at multiple scales. A skilled designer working in Photoshop can build a scattered floral in 8-12 hours. A half-drop paisley can take two full days.
An AI pattern generator trained for seamless output performs this step in roughly the time it takes to type a prompt. The tile is generated as a seamless unit from the start — there is no after-the-fact seam-fixing because the model never produced a seam in the first place. The repeat structure (block, half-drop, mirror) becomes a parameter rather than a construction problem.
This is real time savings, not marketing time savings. A studio that previously shipped four patterns a week can ship four patterns a day in this step. The trade-off is creative control — the AI tile is a finished arrangement, and rearranging individual motifs within it is not currently a clean workflow. Designers who care intensely about the exact position of every element still build by hand.
Step 6: Colorway expansion
Traditional time: 3-8 hours per colorway. AI-augmented time: 5-15 minutes per colorway.
Most patterns ship in 2-6 colorways. A summer dress print might exist in a hero (the pitched version), a navy ground, a soft pink ground, a black ground, and an ivory ground. Each is the same pattern, recolored.
The traditional method depends on how the file was built. Vector files with global swatches recolor in seconds. Raster files require channel-by-channel selection and replacement and can take an entire afternoon per variant, especially when the source artwork has soft edges, gradients, or watercolor bleeds.
The AI-augmented method recolors via prompt — the tile is regenerated with the new color direction while the motif arrangement is preserved. The variants are not pixel-identical recolors (the motifs themselves may shift slightly), which is a problem if the brand requires absolute repeatability across the colorway and a non-problem for most editorial and seasonal use.
Like step 5, this is a place where the technology genuinely collapses the work. A six-colorway print that took three days to build out manually can take twenty minutes. The remaining time goes into curation — deciding which six grounds belong in the line rather than executing them.
Step 7: Production file preparation
Traditional time: 1-3 hours per pattern. AI-augmented time: 1-3 hours per pattern.
This is where AI tools stop helping and the designer's technical knowledge takes over again. A pretty seamless tile is not a production file. Print converters reject files daily for reasons that have nothing to do with the artwork.
A production-ready textile file usually requires:
- Format. TIFF with LZW compression for raster, AI or PDF for vector. Never JPEG for production.
- Color space. CMYK for digital pigment and dye-sublimation, indexed Pantone for screen print. Convert from RGB before you flatten, and check that the conversion did not crush your darks or shift your reds.
- ICC profile. Embed the profile the printer specified. Sending an untagged CMYK file is the most common cause of color disasters.
- Resolution. 150 DPI at final scale is the floor for most apparel printing, 300 DPI is standard, 600 DPI is requested by some luxury converters. Resolution is calculated at the final printed size, not the file size.
- Bleed. Some converters require the repeat tile extended by 0.5-1 cm on each side. Confirm before you send.
- File naming. `BrandName_CollectionName_PatternName_ColorwayName_RepeatSize_Date.tif`. Inconsistent naming is the second most common cause of converters printing the wrong file.
This step is identical whether the artwork came out of Photoshop, Procreate, or an AI generator. Tools like Pattern Weaver export to the source resolution they generated at; if you need 600 DPI at a 50 cm repeat, you either generate at that resolution or upscale before flattening. There are no shortcuts here, and any tool that claims to "automate" pre-press should be treated with suspicion.
Step 8: Pre-press review and printer handoff
Traditional time: 2-6 hours per collection. AI-augmented time: 2-6 hours per collection.
The final step is the one most beginners skip and most professionals refuse to skip.
A pre-press review means:
- Soft-proofing every file in the destination ICC profile to see the color shift before the printer does
- Strike-off ordering — paying the converter for a small physical print of each pattern before committing to a production run
- Repeat verification at full scale by laying the artwork into a mockup or printing at home
- File integrity check — opening every TIFF, confirming layers are flattened, confirming color mode, confirming embedded profile
Strike-offs cost $40-200 per pattern depending on the substrate. Designers who do not order them end up paying for full bolts of fabric that came back wrong. The math is not subtle.
The handoff itself is a packing-list exercise: zipped folder per pattern, README with print specs, contact sheet showing all colorways, and a signed approval form once the strike-off is reviewed. Studios that work with the same converter repeatedly often skip the contact sheet; everyone else should include it.
Total time, end to end
For a single pattern, fully developed and production-ready in one colorway:
- Traditional workflow: 40-100 hours, typically 2-3 calendar weeks with revisions
- AI-augmented workflow: 8-20 hours, typically 3-5 calendar days with revisions
For a six-pattern collection with three colorways each:
- Traditional workflow: 300-600 hours, typically 8-14 weeks
- AI-augmented workflow: 60-120 hours, typically 2-4 weeks
The compression happens in steps 3, 5, and 6. Steps 1, 2, 4, 7, and 8 are roughly unchanged regardless of toolset, and they are where the experienced designer's value still concentrates. A pattern designer who learns prompting but skips brief-writing and pre-press is not faster — they just produce more unusable work, faster.
Where to go from here
If you are learning the textile design discipline and want to actually run this workflow rather than read about it, start with step 2. Write a brief for one pattern. Make it a single piece, not a collection. Move through all eight steps for that one pattern. Order one strike-off. The total cost is around $100 and a weekend of evenings, and it will teach you more than any course because you will hit every failure mode at small scale.
If you are a working designer evaluating whether to fold AI tools into your stack, run the same one-pattern test using a seamless pattern maker for steps 3, 5, and 6, and keep everything else identical. Compare the time honestly. Most designers find the bottleneck moves from execution to curation, which is a more valuable place for it to live.
If you are a brand owner reading this to understand why your designer disappeared for three weeks, the answer is steps 5, 6, and 8. They were either constructing repeats by hand, building colorways one channel at a time, or waiting for a strike-off to come back from the converter. All three are still necessary; two of them no longer have to take that long. That is the actual story of textile design in 2026 — not that AI replaced the designer, but that it cleared out the parts of the work that never deserved to take three weeks in the first place.
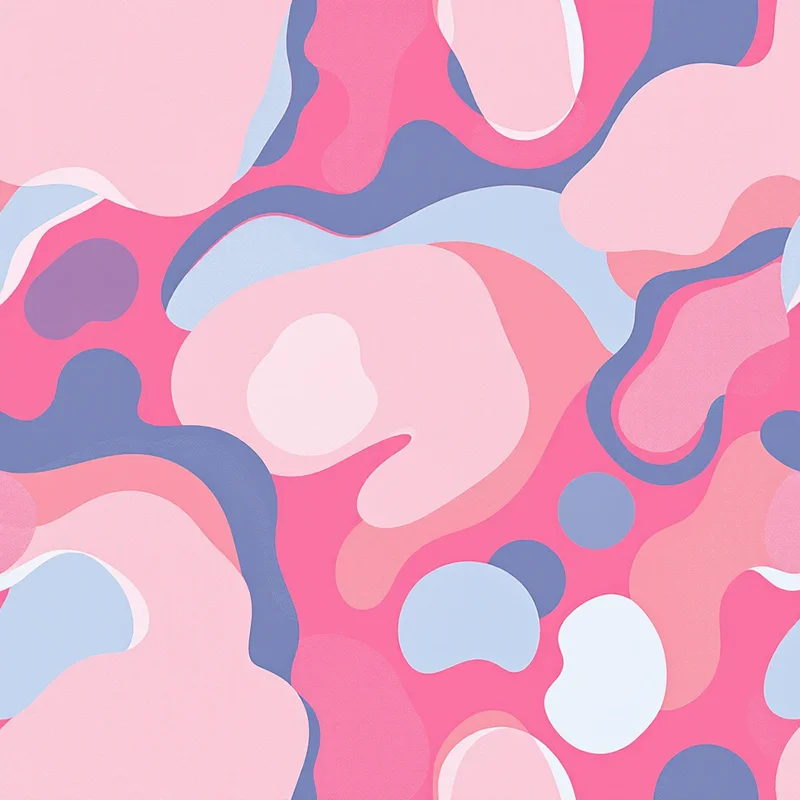
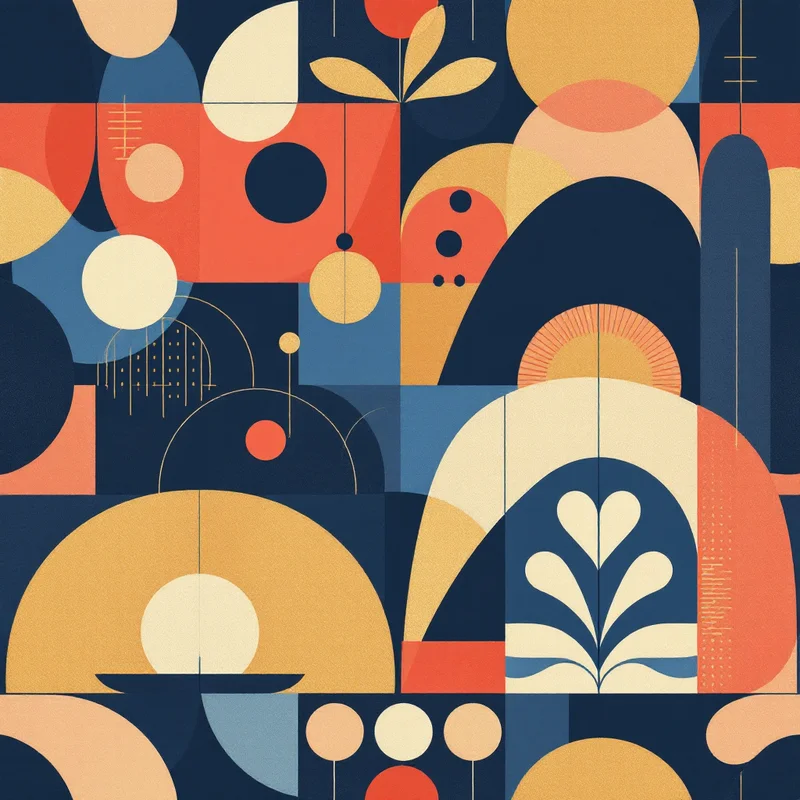
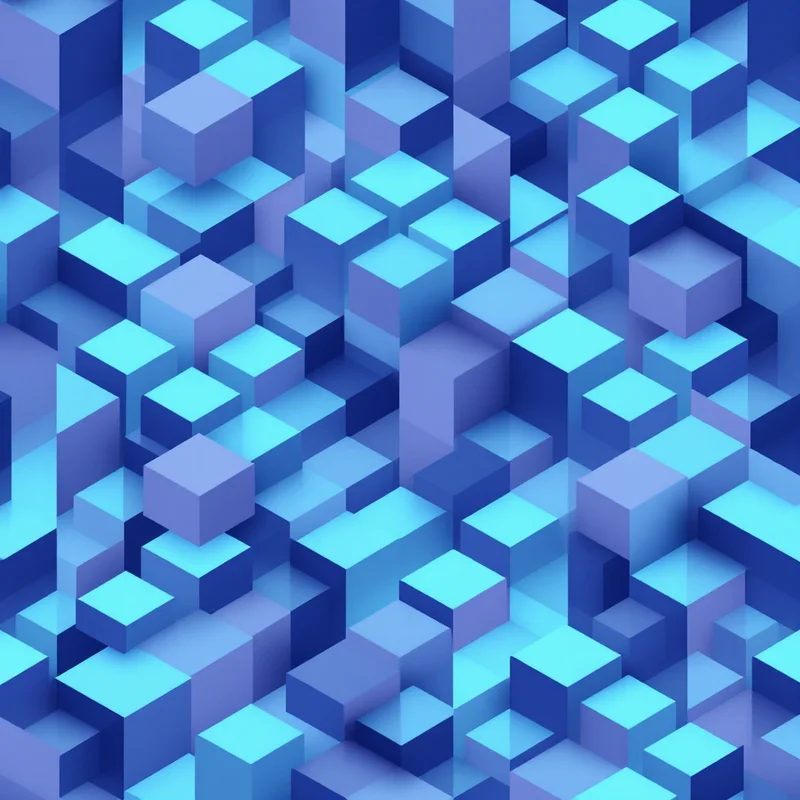
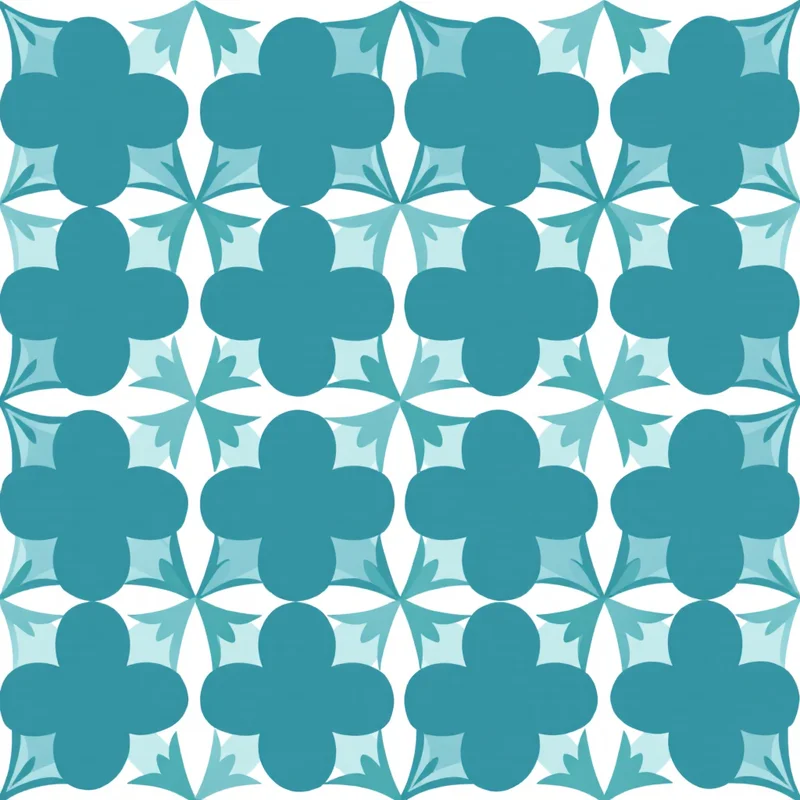
Explore related pattern styles
Patterns for