If you have ever searched how to make a seamless pattern in Canva, you already know the appeal: it is free to start, it runs in your browser, and you can drag shapes around without learning professional design software. Canva is genuinely good at a lot of things. The honest catch is that a seamless pattern has one hard requirement Canva was never built to handle, and that requirement is where most people get stuck.
This guide walks through the full Canva method step by step so you can build a tiling pattern today. Then it covers exactly where Canva falls short, and how to get a tile that repeats with no visible seam when you need print-ready results.
What "Seamless" Actually Means
A seamless pattern is a single rectangular tile designed so that when you place copies edge to edge, the design flows continuously with no visible boundary. The left edge has to match the right, and the top has to match the bottom. If a leaf exits the right side 40% down from the top, an identical fragment has to re-enter the left side at exactly 40% down. Get that wrong and your eye instantly catches the grid when the tile repeats across a wall, a dress, or a phone wallpaper.
Every method of making a seamless pattern is really just a different way of solving that edge-matching problem. Canva solves it by hand, which is fine for some uses and a real headache for others.
How to Make a Pattern in Canva, Step by Step
Here is the practical walkthrough. It works, with the limitations noted at the end.
Step 1: Set up a square canvas
Start a custom design and set the size in pixels rather than inches. A square canvas such as 2000 by 2000 gives you predictable proportions and a clean repeat unit. Pixels matter here because tiling math is much easier when both dimensions are equal and you control the exact size.
Step 2: Add and arrange your motifs
Drag in elements from Canva's library or upload your own artwork. Scatter them across the canvas to build your composition, but keep the most important shapes away from the four edges for now. Think about density and balance: you want the eye to travel smoothly across the tile without getting snagged on one heavy corner. This is the fun part, and Canva's drag-and-drop interface makes it genuinely pleasant.
Step 3: Match the edges by hand
This is the step that makes or breaks a seamless pattern in Canva. Any motif that touches one edge needs an identical twin at the opposite edge, placed in exactly the same position, so the two halves join when the tile repeats. If a flower runs off the right side halfway down, duplicate it and align the copy so it runs onto the left side halfway down. Use Canva's position and alignment values to be precise. This is slow, manual, and easy to get slightly wrong, but it is the only way Canva can approximate a true repeat.
Step 4: Test the repeat in a grid
Never trust a single tile. Copy your finished design onto a new page and paste it into a three-by-three grid, shrinking the copies so you can see them together. Zoom into every junction where tiles meet. Look for broken lines, awkward empty alleys, repeating hotspots, and shapes that get chopped at the seam. Fix anything that shows, then re-test. You will likely loop through this a few times.
Step 5: Export and finish seamlessly
Download your tile as a high-resolution PNG. If it is only for a social post or a simple background, you may be done. If you need it to be genuinely seamless and print-ready, run it through a dedicated maker like Pattern Weaver, which locks the edges and exports a clean tile up to 8K. You can start a tile from scratch in the studio in under a minute.
Where Canva Falls Short for Patterns
Canva is a general design tool, and patterns are a side use case you assemble by hand. That shows up in a few concrete ways.
There is no true repeat or offset feature. Professional pattern tools let you offset the tile so the edges meet in the center, revealing seams you can then fix. Canva has nothing equivalent, so you are eyeballing alignment manually and hoping it holds across a full grid.
Resolution is capped. For print on demand, fabric, or wallpaper, you generally need 300 DPI, which means very large pixel dimensions. Canva's export sizes were built for social graphics and documents, not for large-format textile printing, so you can hit a ceiling fast.
Licensing gets complicated. Patterns you build from Canva's stock elements carry usage terms that depend on the element and your plan. Before you sell anything, you have to read the fine print, and that is real risk if you are listing products.
None of this makes Canva bad. It makes Canva the wrong tool when the seam has to be invisible and the output has to be production quality.
Where Pattern Weaver Fits
Pattern Weaver is built for one job: seamless patterns. Instead of arranging motifs by hand and praying the edges line up, you choose a style category, a color palette, a density, and a scale, and our AI engine produces a tile that is seamless by design. Edge matching is automatic, so the slowest and most error-prone part of the Canva method simply disappears.
That changes the workflow. You can generate twenty variations on a concept in the time it takes to manually align a single Canva tile, then pick the strongest direction and export it. Every export is repeat-ready in PNG, JPG, WEBP, TIFF, PDF, or SVG, at up to 8K, so a tile that started as a digital background can go straight to fabric or packaging without a resolution wall.
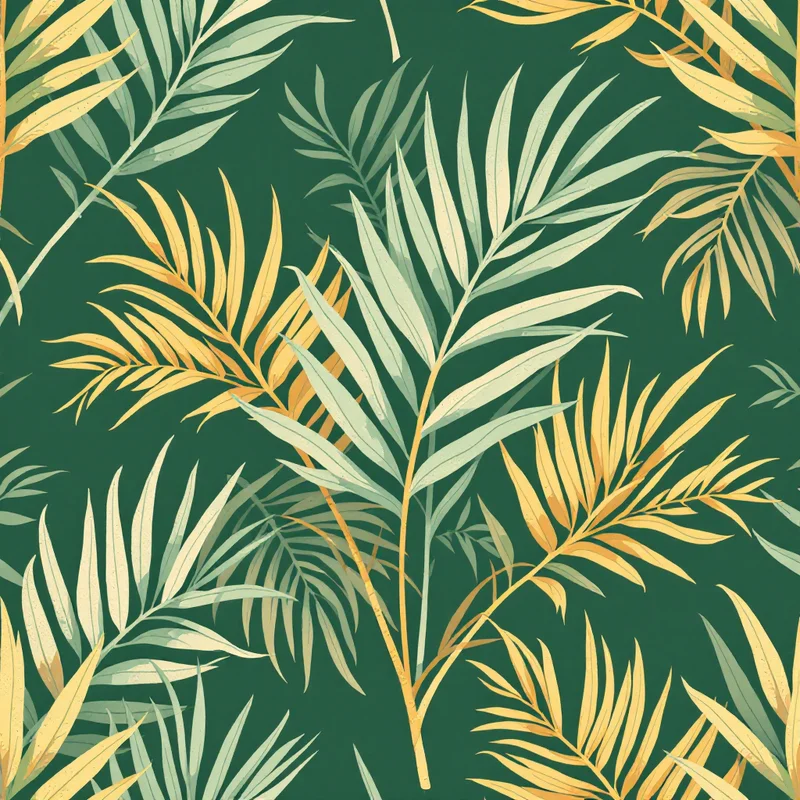
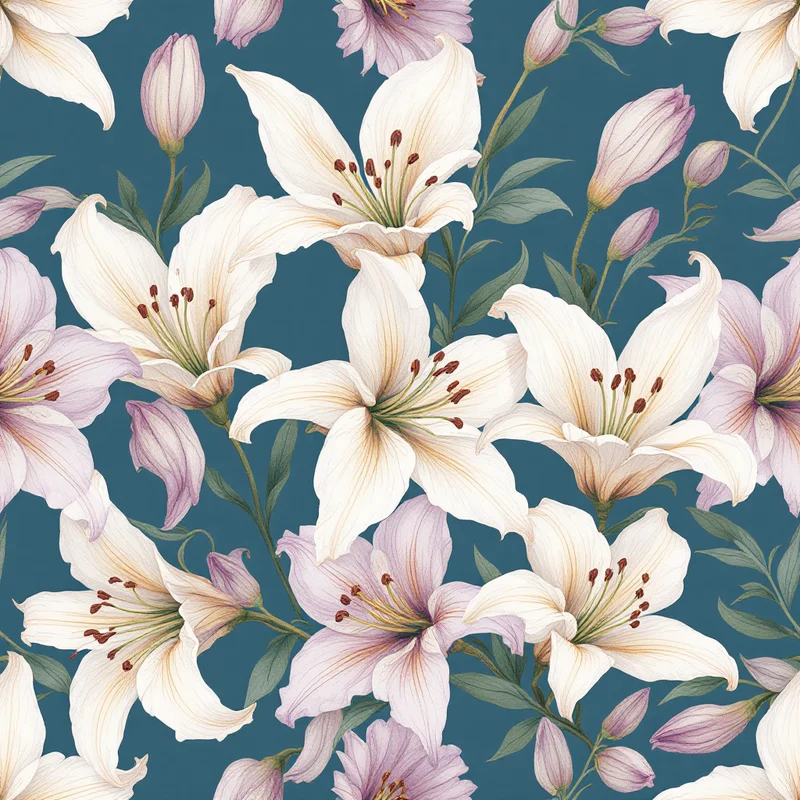
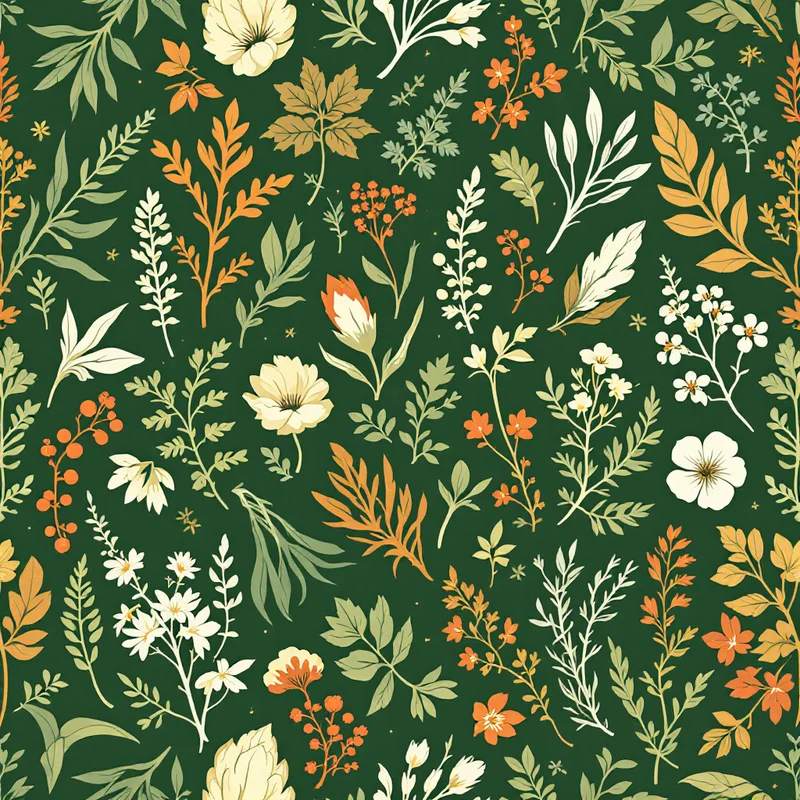
If you want to see the range first, browse ready categories like seamless patterns, surface pattern design, floral patterns, and geometric patterns. Each one shows what a true repeat looks like before you commit to building your own.
A Realistic Comparison
Neither approach is universally better. Here is the honest split.
| Factor | Canva | Pattern Weaver |
|---|---|---|
| Best for | Quick social backgrounds, mockups | Print-ready seamless tiles |
| Edge matching | Manual, by hand | Automatic |
| Repeat or offset tool | None | Built in |
| Max resolution | Limited for print | Up to 8K |
| Export formats | Common raster | PNG, JPG, WEBP, TIFF, PDF, SVG |
| Skill needed | Low, but tedious | Low and fast |
| Commercial use | Depends on elements and plan | Yours on paid plans |
Use Canva when you need a fast, free graphic and a perfectly invisible seam does not matter. Use a purpose-built workflow when the tile is going to be printed, sold, or repeated at scale.
How to Get Started
If you only need a background for a post, the Canva method above is enough. Follow the five steps, test in a grid, and export.
If you are designing for fabric, wallpaper, stationery, or print on demand, skip the manual edge work. Open the studio, pick a style, and generate a seamless tile in seconds, or start from a pattern category that matches your idea. Free and paid options are laid out on the pricing page, so you can test the workflow before committing.
For deeper background, our guide on how to create seamless patterns compares five different methods, and pattern design for print on demand covers the resolution and licensing details that trip up new sellers. If you are still weighing tools, the best pattern design software breaks down the full landscape.
The Takeaway
You absolutely can make a seamless pattern in Canva. The catch is that "seamless" is a promise Canva cannot keep on its own, because there is no repeat tool to guarantee the edges meet. For a free background, that trade-off is fine. For anything you intend to print or sell, the manual alignment and resolution limits add up quickly. That is the gap Pattern Weaver was built to close: pick a style, let the edges take care of themselves, and export a tile that repeats cleanly every time.
Explore related pattern styles