
Camouflage pattern design is one of the few visual languages that started as a survival tool and ended up on runways, sneakers, phone cases, and living-room cushions. The same disruptive shapes that hide a soldier in a forest now sell streetwear by the thousands. This guide walks through every major camo style, what makes each one work, and how to build your own seamless version without touching a single layer mask.
What is camouflage pattern design?
Camouflage pattern design is the practice of arranging irregular shapes and tonal blends so an object's outline dissolves into its background. Instead of drawing attention, the pattern scatters it. The eye struggles to find a clean edge, so the shape reads as part of the scenery rather than a separate thing.
Three principles do the heavy lifting in any camouflage pattern design: tonal contrast that matches the environment, organic shapes that avoid obvious geometry, and a repeat that hides itself. Get those right and a pattern works across terrain, fabric, and scale.
Origins
The discipline was born in the trenches of the First World War, when artists and naturalists were recruited to paint disruptive shapes onto equipment and ships. The word itself comes from the French "camoufler," to disguise. Early designs borrowed from how animals break up their silhouettes: the dappled coat of a fawn, the mottled skin of a frog, the blotches on a leopard.
By the mid-twentieth century, militaries had codified regional patterns, and the look leaked into civilian fashion through surplus clothing. What began as concealment became a statement. Today camouflage pattern design lives equally in tactical gear and luxury collections.
Visual hallmarks
Each camo family has a signature you can spot instantly:
- Woodland uses large, soft-edged blotches in olive, brown, and black over a green base. The shapes are big and lazy, built for dense foliage.
- Digital or pixel camo swaps blobs for tight clusters of small squares. From a distance the pixels blur into texture; up close they look engineered.
- Multicam blends many tones with soft gradients so a single pattern works across forest, desert, and rocky terrain. The transitions are gentle, never hard-edged.
- Desert or arid drops the greens for tan, khaki, and sand, with sparse, sun-bleached shapes.
- Urban leans on grey, charcoal, white, and black to echo concrete and shadow.
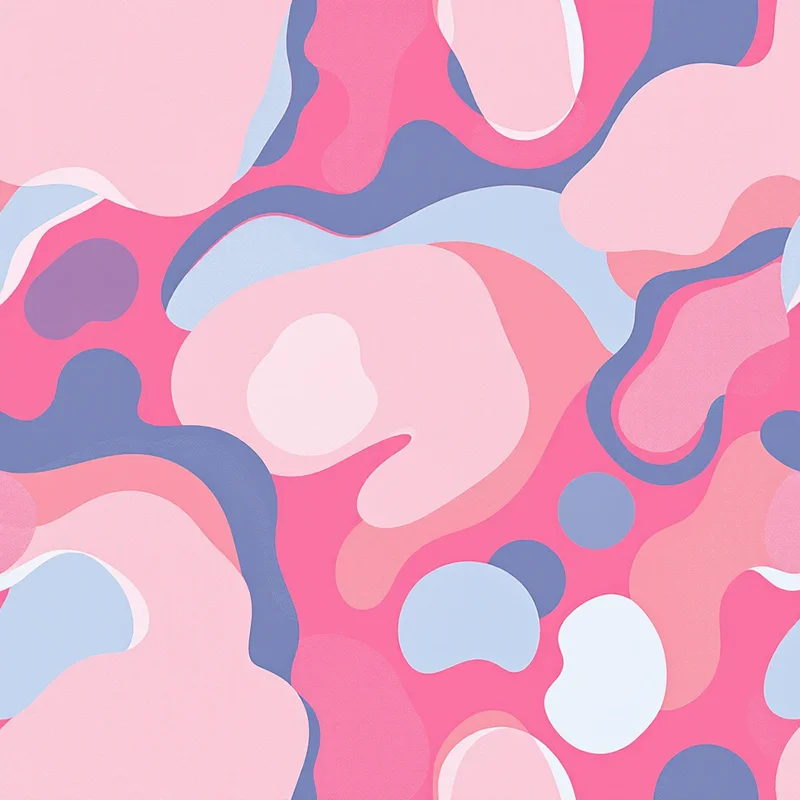
- Fashion camo breaks every rule: oversized shapes, monochrome palettes, or neon colorways made to be seen rather than hidden.
The thread that connects them all is rhythm without repetition. A strong camouflage pattern design never lets your eye lock onto a repeating unit.
How to generate it in Pattern Weaver
Building camo by hand means painting dozens of blobs, balancing tones, and fighting visible seams. Pattern Weaver compresses that into a few choices. Head to the studio and follow these steps.
- 1Choose your camo style. Pick a direction such as woodland, digital, desert, urban, or fashion camo. This sets the base shape language for everything that follows.
- 2Set the color palette. Choose three to five tones. Classic olive and brown for the field, or push into monochrome and neon for apparel that wants attention.
- 3Adjust scale and density. The scale slider sizes the blotches; the density slider controls how tightly they pack. Large and sparse reads as classic field camo, while small and dense reads as digital or tactical.
- 4Generate and preview the tile. Produce the pattern, then open the tile preview to confirm the camo repeats seamlessly. No visible seam lines, no obvious repeating block.
- 5Export in your format. Download as PNG, JPG, WEBP, TIFF, PDF, or SVG at up to 8K resolution, ready for fabric, print on demand, or large-format work.
If you are new to seamless work, the walkthrough in how to create seamless patterns covers the fundamentals that make camo tile cleanly.
Color palette ideas
Color is what locks a camouflage pattern design to a purpose:
- Classic forest: olive, forest green, chocolate brown, black.
- Desert patrol: sand, khaki, pale tan, soft brown.
- Arctic: white, pale grey, ice blue, light charcoal.
- Urban shadow: charcoal, slate grey, white, deep black.
- Streetwear pop: dusty pink, lavender, cream, and a single neon accent.
- Tonal monochrome: four shades of one hue, from near-black to near-white.
Keep your count between three and five tones. Fewer than three looks flat; more than five turns muddy and kills the disruptive effect.
Best use cases
Camouflage pattern design earns its keep across a wide range of products:
- Apparel: jackets, hoodies, leggings, swimwear, and accessories.
- Bags and gear: backpacks, duffels, phone cases, and tech sleeves.
- Home goods: cushions, throws, and accent upholstery for a rugged interior.
- Print on demand: an evergreen seller that suits all-over print products. The print on demand guide covers how to prep camo for each product type.
- Packaging and branding: tactical, outdoor, and adventure brands use camo to signal their world instantly.
Because the pattern is seamless, the same tile scales from a phone case to a banner with no extra work.
Pro tips
A few habits separate convincing camo from the flat, obviously-fake kind:
- Vary your shape sizes. Mix large anchor blotches with smaller filler shapes so no single size dominates.
- Avoid pure black. A very dark brown or charcoal reads more natural than 100 percent black and keeps the pattern from looking printed-on.
- Test at distance. Shrink your preview until the tile is thumbnail-sized. If a repeat jumps out, raise the density or regenerate.
- Recolor for variety. Generate one strong shape set, then export several palette versions to test which sells before a print run.
- Match scale to product. Big blotches suit jackets and upholstery; small clusters suit caps, cases, and trim.
If you want to push further into AI-assisted workflows, how to make a pattern with AI shows how to iterate fast across many directions.
Start designing
Camouflage pattern design rewards experimentation more than precision. The best results come from generating several variations, comparing palettes, and trusting the tile preview to catch weak repeats. Browse ready-made starting points on the create page, check the plans on the pricing page to find the right fit from Free to Starter, Pro, and Max, then open the studio and build a camo that is entirely yours.