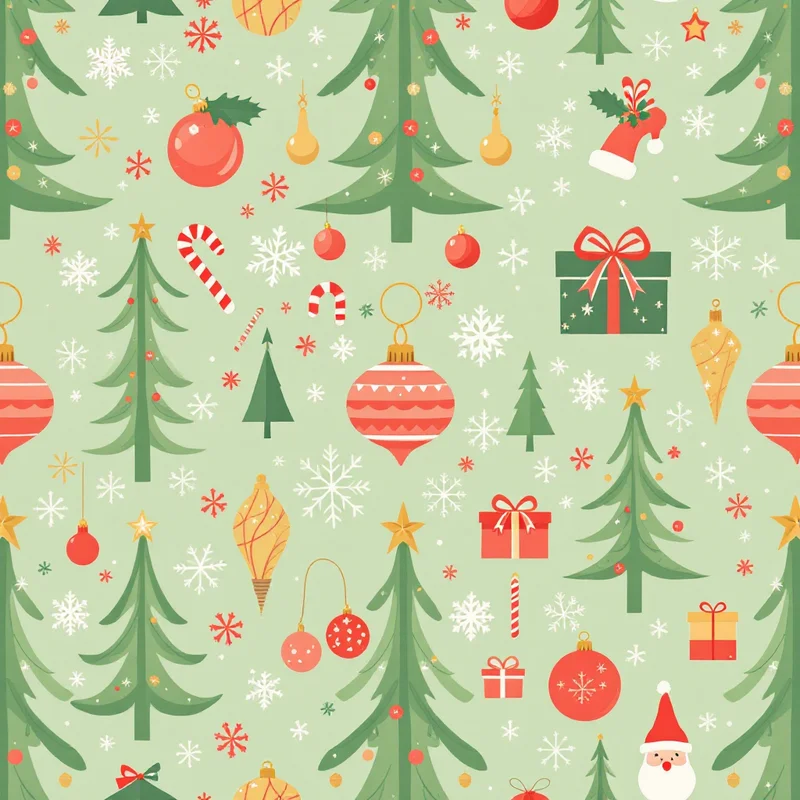
Start with a list, not a blank canvas. Most weak Christmas patterns fail because the designer began drawing before deciding what the print was for, which means every later choice (color, scale, density) is a guess. Here is the order that avoids that.
Step 1: Write a one-line brief
Name the aesthetic and the product in one sentence: "Nordic folk Christmas for tea towels" or "vintage red-and-gold gift wrap." Aesthetic direction decides the palette and motif style, and product decides the scale. If you need a menu of directions, Christmas pattern design ideas walks through eight.
Step 2: Build a motif list of seven
A balanced print has a hierarchy, so write it down:
- 1 hero: the largest, most recognizable motif, such as a fir tree
- 3 supporting: a star, a mitten, a bird
- 3 fillers: dots, tiny berries, small crosses
Avoid choosing seven motifs of the same size. When everything is equally loud, nothing leads.
Step 3: Set a palette of four or five colors
Pick one dominant color for the ground, one or two secondary colors, and one accent. For a Nordic tea towel, that might be:
- Cream `#F4ECDC` ground
- Spruce `#2F5D45`
- Dusty red `#A8453C`
- Charcoal `#3B3B40` for fine detail
Roughly 60 parts ground, 30 parts secondary and 10 parts accent is a dependable starting split. Squint at it: if the accent is the first thing you see, it is probably too big.
Step 4: Choose the layout
The layout is how motifs sit in the repeat.
- Tossed: scattered at random angles. The most forgiving and the best for fabric and wrap.
- Half-drop: each column offset by half a tile, which breaks up grid lines. See the half-drop repeat guide.
- Stripe or border: rows of motifs, good for ribbon and trim.
- Conversational: motifs facing different directions, as on novelty gift wrap.
Step 5: Fix the scale for the product
Scale is the most skipped step. Rough starting points:
| Product | Tile size | Hero motif |
|---|---|---|
| Gift wrap | 12 to 24 inches | 3 to 5 inches |
| Tea towel | 8 to 12 inches | 2 to 4 inches |
| Quilting fabric | 6 to 12 inches | 2 to 5 inches |
| Phone case or small goods | 3 to 6 inches | 1 inch |
The pattern scale guide goes into more detail on how scale changes with viewing distance.
Step 6: Make the tile
You can draw it by hand in a vector or raster program, or generate it. If you use Pattern Weaver, Browse Styles lets you pick from 44 categories and 5,700+ styles, starting with something like Christmas patterns, and "Describe It" lets you write the motif list from Step 2 in your own words. Each pattern is a seamless tile in about 20 seconds, so generate several variations and pick the one with the best spacing, not the one with the prettiest single motif.
If an edge looks off, the Tiling Fixer fixes edges. Restyle changes the finish if the content is right but the look is not.
You are still the designer. Choose the winner, reject the ones where the hero is too big, and rerun with a tighter description.
Step 7: Test the repeat
Before exporting, run a short check:
- 1Tile it 3 by 3. Look for stripes, lines or gaps.
- 2Shrink to a thumbnail. Patterns with weak spacing show clusters from a distance.
- 3Look for twins. If the same motif appears next to itself, move it.
- 4Check the edges. Anything crossing the border must continue on the other side.
- 5Test in grayscale. If the print loses its hierarchy, adjust the values.
Step 8: Export at print size
Export at 300 DPI at the size the product will print. A 12 inch tile at 300 DPI is 3,600 pixels square. For large or detailed prints, a higher-resolution export gives you room, and Pro exports up to 8K. The DPI guide for pattern printing covers the details.
Finish by putting the pattern on mockups. Product Mockups are free and put a pattern on 20 products, which makes it easy to see whether the scale you chose in Step 5 actually works. When you have a tile you like, build the supporting prints in the same palette, and you have a collection. You can start from any of these in the repeat pattern maker.
Explore related pattern styles