Cross stitch has been around for centuries, but finding the right pattern has always been the bottleneck. You either buy a kit with a design someone else chose, chart your own from a photo using tedious gridding software, or browse through thousands of Etsy listings hoping something clicks. AI pattern generators introduce a genuinely different approach: describe what you want, get a visual reference you can chart from, and iterate until the design feels right.
Key takeaway: Set your AI generator to pixel-art or mosaic rendering with a limited color palette (6-10 colors) -- the grid-based output maps directly to cross stitch charts, cutting the design phase from hours to minutes.
This is not about replacing the craft. The stitching is still yours. What changes is the design phase — the part where you decide what to make.
Why AI Works Well for Cross Stitch Design
Cross stitch is inherently pixelated. Each stitch occupies one square on the fabric grid, making the medium naturally compatible with low-resolution, grid-based imagery. This is exactly the kind of output AI image generators can produce when configured correctly.
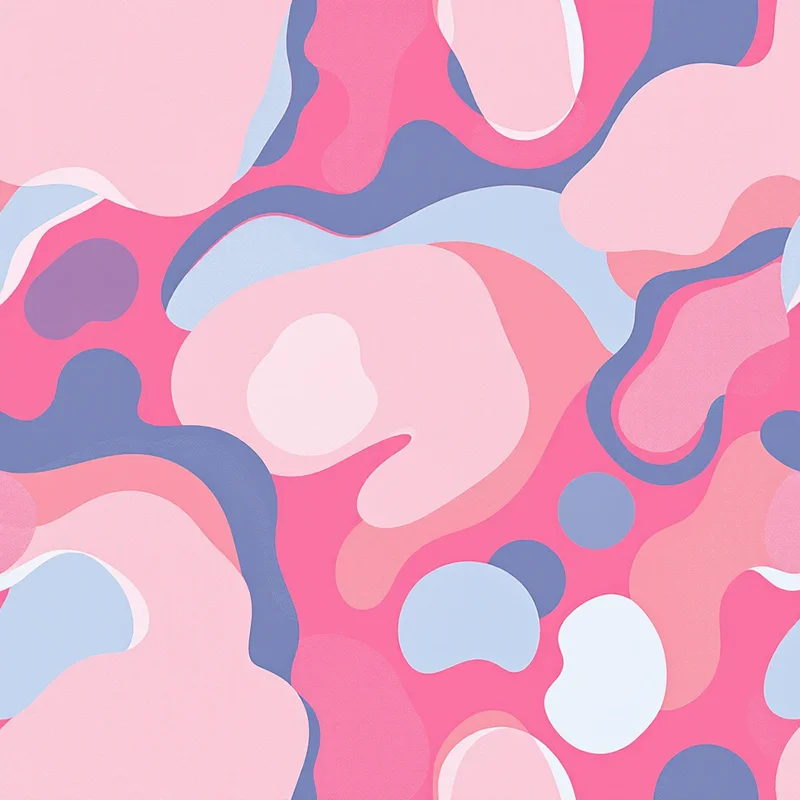
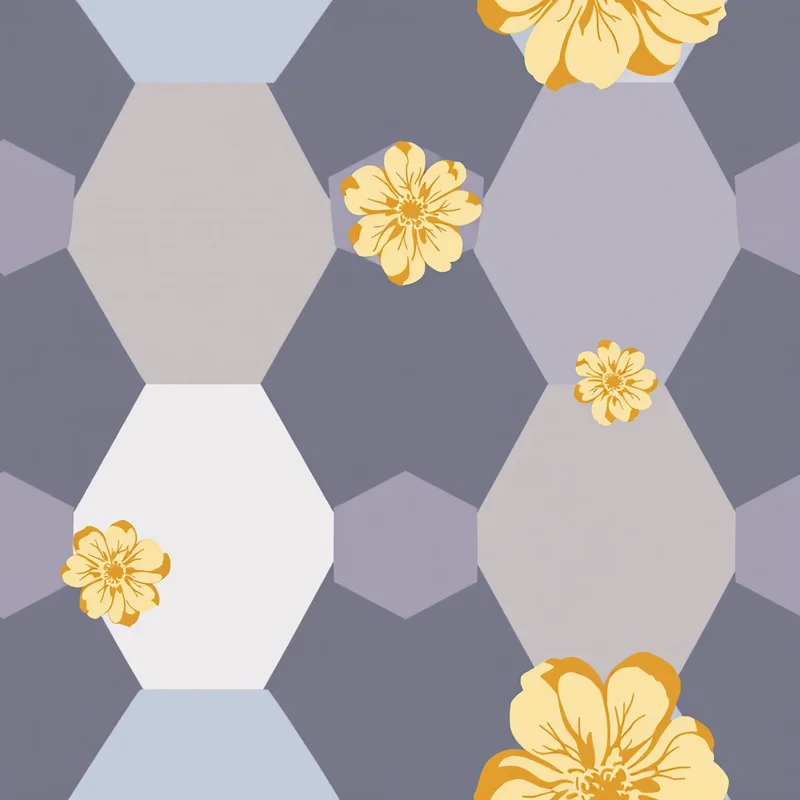
When you set an AI pattern tool to pixel-art or mosaic rendering mode, the output snaps to a visible grid structure. Colors flatten into distinct blocks rather than smooth gradients. The result looks remarkably like a cross stitch chart already — a mosaic of solid-color squares arranged into a recognizable image or repeating pattern.
This compatibility is not accidental. Pixel art and cross stitch share the same fundamental constraint: every unit of visual information occupies a fixed-size cell. A 50x50 pixel design translates directly to a 50x50 stitch grid. The mapping is one-to-one.
Setting Up Your AI Generator for Cross Stitch Output
The key settings that produce cross-stitch-friendly output from an AI pattern generator are render style, color count, and scale.
Render style matters most. Look for pixel-art, mosaic, or 8-bit rendering options. In the studio, the pixel-art render mode produces output with visible grid cells and flat color fills — exactly the visual language of counted cross stitch. Avoid photorealistic or painterly render styles, which produce gradients and subtle color transitions that are nearly impossible to chart accurately.
Color count is your second lever. Real cross stitch projects typically use between 4 and 30 thread colors, depending on complexity. A simple geometric border might use 3 colors. A detailed landscape sampler might use 25. When generating your reference design, think about how many skeins you actually want to buy. If your generator allows palette control, start with 6 to 10 distinct colors. You can always simplify later, but starting with a 200-color photorealistic image means hours of manual color reduction before you can chart it.
Scale and density control how much detail ends up in each tile. For cross stitch, less is often more. A sparse, medium-density pattern with clear motifs translates better to fabric than a dense, intricate design where individual elements are only 3 stitches wide. Think about the count of your fabric — 14-count Aida gives you 14 stitches per inch, so a 4-inch motif is only 56 stitches tall. Details need to read clearly at that resolution.
Matching Generated Colors to Thread
One of the practical challenges of working from any digital reference is converting screen colors to physical thread. DMC and Anchor both publish numbered thread color systems with hundreds of shades, and your generated pattern will almost certainly use colors that do not match any thread exactly.
The workflow that saves time: export your generated pattern, sample the hex color values from each distinct color region, then use a DMC color matching tool (several free ones exist online) to find the closest thread number for each. Some stitchers prefer to do this visually by printing the pattern and holding thread skeins against the printout under natural light. Screens lie about color more often than you would expect.
If your AI generator lets you define a custom color palette before generation, you can work backward — start with DMC hex values for threads you already own, input those as your palette, and generate patterns that use only colors you can stitch immediately.
Pattern Types That Translate Best
Not every AI-generated design works well for cross stitch. The patterns that translate most cleanly share a few characteristics.
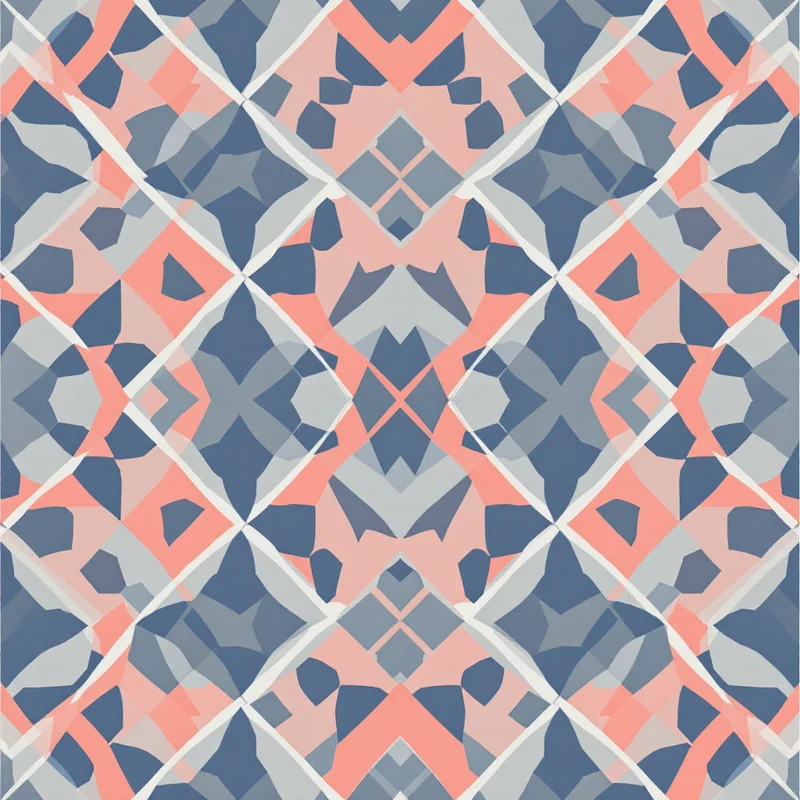
Geometric repeats are the easiest to chart and stitch. Greek key borders, tessellating diamonds, checkerboard variations, and interlocking shapes all work beautifully because they are already grid-native. There is no ambiguity about where each stitch goes.
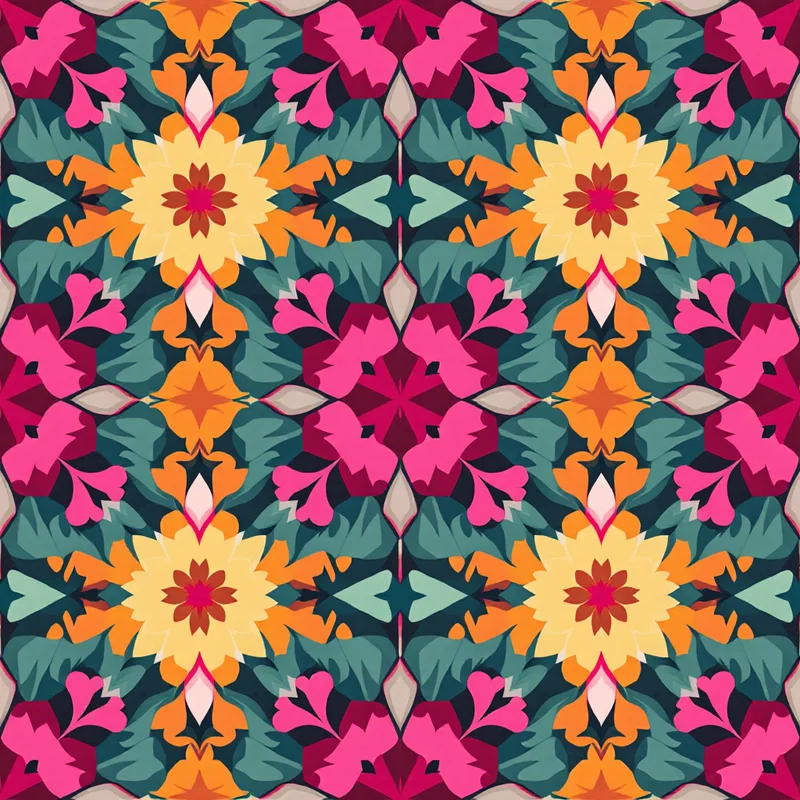
Folk and cultural motifs have a long history in cross stitch traditions worldwide — Scandinavian stars, Ukrainian vyshyvanka patterns, Mexican Otomi designs, Japanese sashiko-inspired grids. Generating patterns in these styles using cultural or traditional substyles produces results that feel authentic to the medium.
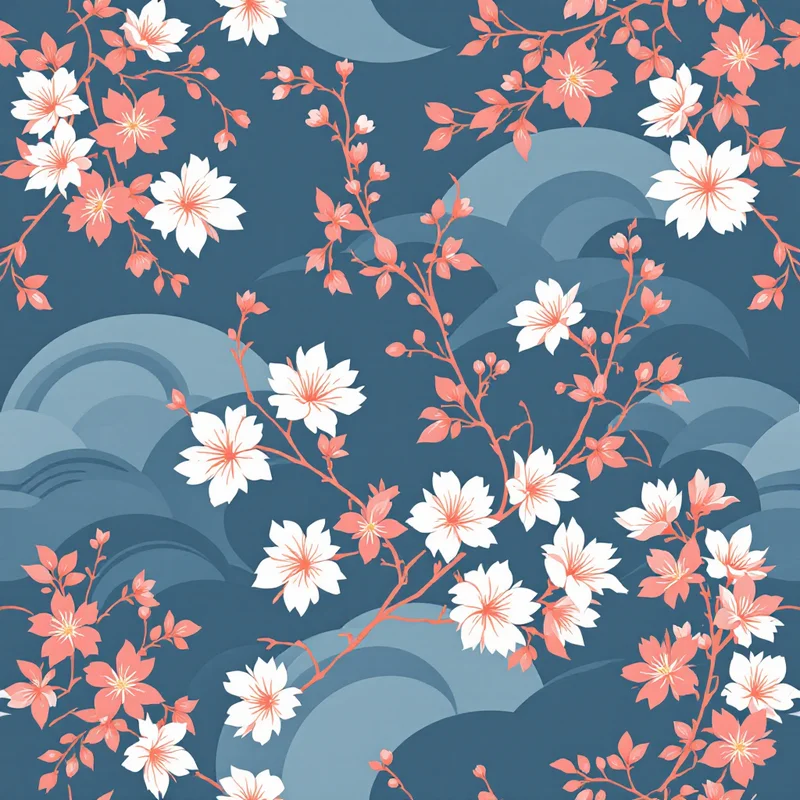
Simple botanical silhouettes work when the motif is large enough. A 60-stitch-tall flower reads clearly. A 10-stitch-tall flower becomes an unrecognizable blob. Scale your motifs accordingly.
Avoid fine text, thin diagonal lines (they staircase badly at low resolution), and designs that rely on smooth curves. Cross stitch handles these poorly regardless of how good your reference image is.
From Reference to Chart
The AI-generated image is a starting point, not a finished chart. To turn it into something you can actually stitch from, you need to convert it to a grid with symbol assignments for each color.
Several free tools handle this conversion: KG-Chart (free for limited sizes), Stitch Fiddle, and PCStitch all accept image uploads and output printable charts with DMC thread recommendations. Upload your AI-generated reference, set the stitch count to match your intended fabric size, reduce colors to your target thread count, and review the output square by square. You will almost always want to clean up a few areas manually — removing isolated single stitches, smoothing jagged edges on curves, and adjusting colors where the automatic conversion chose poorly.
The entire workflow — generate a reference in AI, match colors to thread, convert to chart, clean up — takes about 30 minutes once you have done it a few times. Compare that to charting from a photograph, which can take hours of painstaking color reduction and manual gridding.
Building a Personal Stitch Library
One underappreciated advantage of AI pattern generation for cross stitch is iteration speed. If you generate a border pattern and it is almost right but the motifs are too large, you adjust the scale slider and regenerate in seconds. If you like the structure but want different colors, swap the palette and try again. Over a few sessions, you can build a personal library of reference designs — border patterns, corner motifs, fill textures, alphabet samplers — all tailored to your taste and thread collection.
This is especially useful for designing custom samplers where you want a cohesive look across multiple motifs. Generate all your elements using the same style settings and color palette, and they will feel like they belong together on the finished fabric.
The craft of cross stitch is in the making. The hours of rhythmic stitching, the satisfaction of watching a design emerge row by row, the texture of the finished piece — none of that changes. What AI does is remove the friction from the design phase, so you spend less time hunting for the right pattern and more time with needle in hand.
Explore related pattern styles