Beading is one of the oldest decorative arts, and its fundamental structure has not changed in thousands of years: individual beads arranged in a grid or offset pattern to build up an image one unit at a time. Whether you are weaving on a loom, stitching flat peyote, or building brick stitch panels, you are working with a chart that specifies the color of every single bead in the piece. Creating those charts is where most beaders spend the majority of their design time.
TL;DR: Generate patterns at your exact target bead count using pixel-art rendering with 4-8 high-contrast colors, then map each digital color to a specific seed bead (like Miyuki Delicas) -- this skips hours of manual chart drafting and gets you straight to stitching.
AI pattern generation offers a genuinely useful shortcut. Because beadwork is inherently grid-based -- each bead is a discrete color unit in a structured layout -- the same pixel art and mosaic rendering techniques that produce clean digital patterns also produce designs that can be adapted into beading charts.
Understanding Beadwork Grid Structures
Different beading techniques use different grid geometries, and this matters when adapting a digital pattern.
Loom Beading
Loom beadwork produces a true rectangular grid. Each bead sits in a straight row and column, perfectly aligned both horizontally and vertically. A loom-beaded piece is structurally identical to a pixel art image: each bead maps to one pixel. This makes loom beading the most straightforward technique to design for using AI-generated patterns. Any clean grid-based pattern can be used as a loom beading chart with minimal adaptation.
Peyote Stitch
Peyote stitch (also called gourd stitch) creates an offset grid where every other row is shifted by half a bead width. The visual effect resembles a brick wall turned on its side. This offset means that a standard rectangular pixel grid does not map directly to peyote -- you need to account for the stagger. Dedicated beading software can convert rectangular charts to peyote-offset charts, or you can manually adjust by reading every other row with a half-step shift.
When generating patterns for peyote stitch, look for designs where the motifs are forgiving of slight horizontal distortion. Geometric patterns with diagonal lines and organic shapes adapt well. Designs that rely on precise horizontal alignment -- like text or architectural details -- can look distorted in peyote unless specifically designed for the offset grid.
Brick Stitch
Brick stitch produces the same offset grid as peyote but rotated 90 degrees -- the stagger runs vertically instead of horizontally. A peyote chart rotated sideways becomes a brick stitch chart. The practical implication is the same: standard pixel grids need offset adjustment, and designs should be tolerant of the half-step shift.
Generating Beading-Friendly Patterns with AI
The goal is to produce digital patterns with clear, discrete color cells that can be read as bead placement instructions.
Render Style Selection
Pixel art and mosaic render styles are your primary tools. Pixel art rendering produces hard-edged, single-color cells with no blending or gradation between adjacent units. This is exactly what a beading chart needs -- unambiguous color assignment for every position. Mosaic rendering gives a similar result with slightly more visual texture, which can be useful for previewing how the finished beadwork might look.
In the studio, geometric and cultural pattern styles combined with pixel art or mosaic rendering produce output with the grid clarity that beading demands. The structured color cells translate directly to bead positions.
Color Palette Constraints
Seed beads are available in hundreds of colors across brands like Miyuki, Toho, and Czech Preciosa, but working with more than 6 to 10 colors in a single piece creates practical problems. Sorting becomes tedious, the needle-threading workflow slows down with constant color changes, and subtle color differences between bead lots can introduce inconsistency.
Generate patterns with a limited, high-contrast palette. Choose 4 to 8 colors that are clearly distinguishable from each other. After generation, map each digital color to its closest seed bead equivalent. Miyuki Delica beads, which are the standard for precision beadwork, have well-documented color charts that make this mapping straightforward.
Resolution and Scale
The resolution of your generated pattern determines the bead count of your finished piece. A 20x20 pixel pattern becomes a 20x20 bead piece -- roughly 1.5 inches square with size 11/0 Delica beads. A 100x100 pixel pattern becomes a substantial 7.5-inch panel requiring 10,000 beads.
Generate at the actual bead count you intend to work with. Downscaling a high-resolution pattern to a low bead count loses detail in unpredictable ways. It is better to generate at the target resolution from the start so the AI composes the design for that specific level of detail.
Adapting Seamless Patterns for Beaded Items
Seamless repeat patterns are particularly valuable for beadwork because many beaded items are inherently repetitive.
Beaded bracelets and cuffs wrap around the wrist, so the pattern must tile horizontally without a visible seam. A seamless pattern tile that repeats along the horizontal axis produces a continuous design around the circumference. Generate a narrow, wide tile -- perhaps 8 beads tall by 20 to 40 beads wide -- and verify that it tiles cleanly before stitching.
Beaded bags and pouches often use tubular peyote, where the beadwork wraps into a cylinder. A seamless tile ensures the pattern flows continuously around the tube without a break at the join line.
Beaded tapestry panels use the pattern as a finite image rather than a repeating tile, so seamlessness matters less. Here, the AI-generated design serves as a color chart for a one-off pictorial piece.
Pattern Types That Translate Well to Beadwork
Some design families work exceptionally well in beaded form.
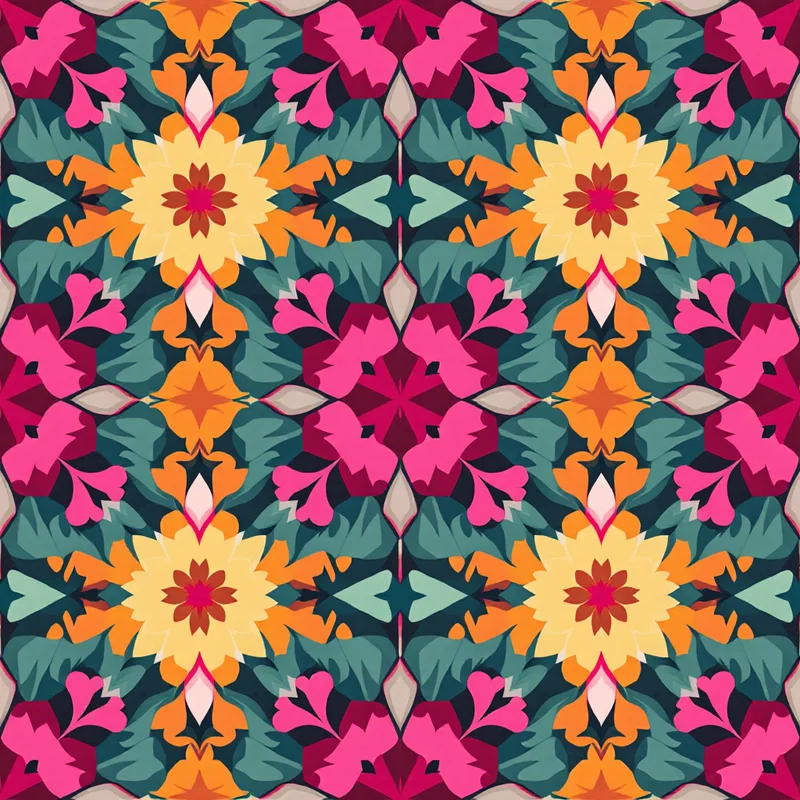
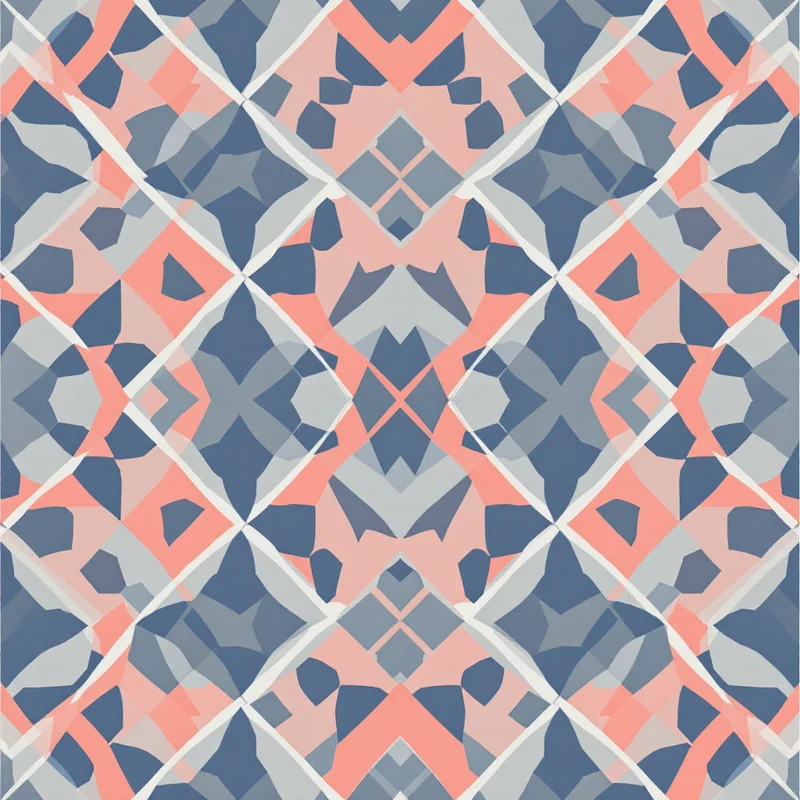
Geometric patterns are the natural language of beadwork. Diamonds, zigzags, chevrons, stepped pyramids, and interlocking squares have been core motifs in indigenous beadwork traditions worldwide for centuries. AI-generated geometric patterns in limited palettes produce charts that feel immediately at home in bead form.
Cultural and ethnic motifs -- Huichol-inspired designs, Native American-style geometrics, African beadwork patterns, Ukrainian folk art -- are traditionally expressed in beadwork. AI generation can produce patterns in these stylistic families that serve as starting points for original designs. Approach cultural motifs with respect and awareness of their origins.
Simple figurative designs work when they are sufficiently stylized. A pixel-art flower, animal silhouette, or landscape rendered at beadwork resolution (where each "pixel" is roughly 2mm) needs to be bold and simple. Fine detail disappears at this scale.
Gradient and ombre effects can work with careful color mapping. Generate a pattern with a smooth color transition, then map each gradient step to a specific bead color. With Miyuki Delicas, which are available in closely spaced color families, you can achieve surprisingly smooth gradients across 5 to 7 shades.
Practical Workflow: Generation to Stitching
A reliable workflow from AI generation to finished beadwork looks like this.
First, generate patterns at your target bead count using pixel art or mosaic rendering with a limited color palette. Generate multiple variations and evaluate them for how well the design reads at the intended physical size.
Second, export the pattern and open it in beading software such as BeadTool, Peyote Designer, or even a spreadsheet with colored cells. These tools let you assign specific bead brand and color numbers to each digital color, generate bead counts and shopping lists, and export printable charts with row-by-row instructions.
Third, adjust for your stitch type. If you are working in peyote or brick stitch, convert the rectangular grid to the appropriate offset layout. Check that the design still reads correctly after the conversion -- some motifs shift in unexpected ways when the grid staggers.
Fourth, stitch a small test section before committing to the full piece. This reveals color issues (beads that look different under indoor light than on screen), tension problems, and whether the pattern's density feels right in bead form.
Getting Started
If you are new to designing beading patterns with AI, start with a simple geometric pattern for a loom-beaded bracelet. Generate a narrow tile (8 to 12 beads tall, 30 to 50 beads wide) in 3 to 4 colors, map the colors to beads you already own, and weave a test piece. The physical result will teach you more about the translation process than any amount of on-screen experimentation.
Browse geometric and cultural pattern styles in the studio to find designs that speak to your beading aesthetic.
Explore related pattern styles
Patterns for